We are starting a new year and so we have created our first digital book about our school this year! We read a story in one of our books about a school. We decided to create our own version using the iPad. First, we decided which places we needed to have in our book. Then, we went around the school and took pictures with an iPad of the places in our school the children thought were important. The Big Rock and Chester were key items on our list!
The next step was to take the pictures and import them into a neat app called Strip Designer that lets us add captions to our pictures. We saved those pages to the camera roll and then imported them into another app called Explain Everything which lets us create a book! We imported each page onto its own page in Explain Everything and then recorded our voices saying the words on each page.
After we finished recording, we saved our book as a movie. Then we watched and listened to the book we created about our school. We hope you enjoy it! You may recognize a voice or two!
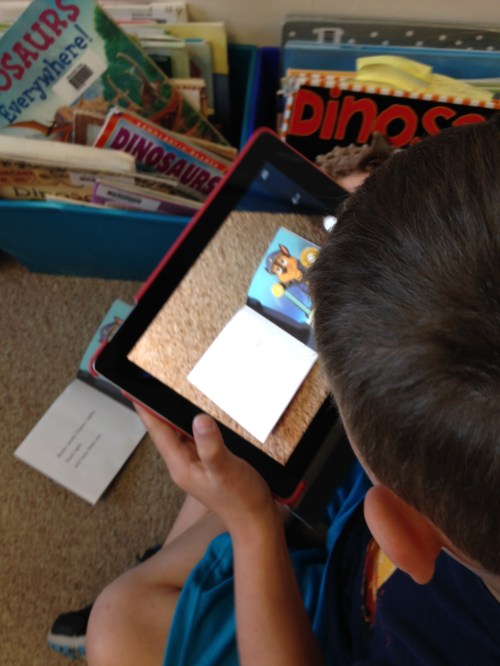
We have been having a lot of fun creating our own digital books! The children have been using a combination of different apps to create their own version of Read to Me stories! The children pick their favourite books and then use the camera on the iPads to take pictures of each page.
Then they import each picture of each page into the Explain Everything app.
When they have imported all the pages they go to a quiet place and record themselves reading the story! We wanted to make it like a “read to me” book where each word is highlighted as it is read so we used the pointer option in Explain Everything. There are a lot of different pointer options in this app. You can use an arrow, a hand, and the very special light sabre! You can guess which pointer is the most popular!
I love that you can listen to each child reading and how it encourages their reading growth! They can hear themselves and they want to make their reading come alive for the listener. They often will redo pages if they don’t like how they sound! How cool is that!
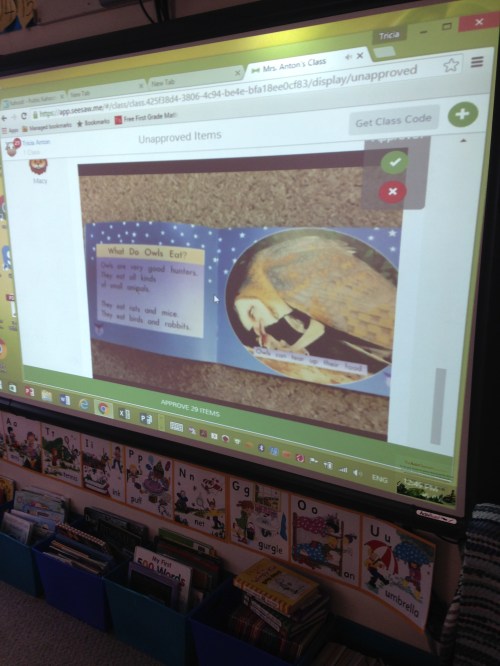
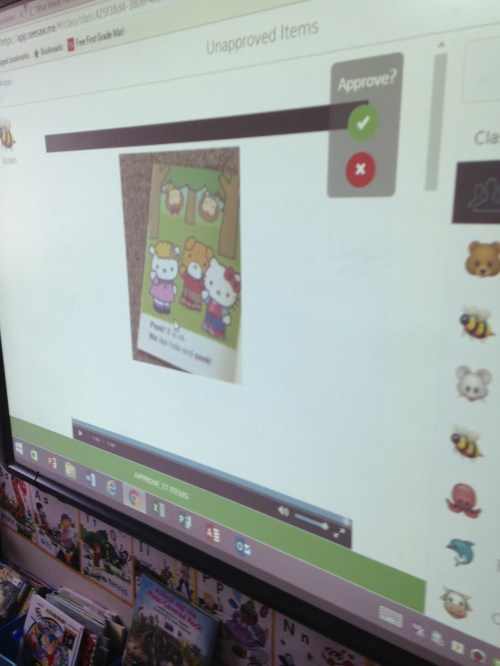
When the book is complete we save the book to the camera roll. When the project is saved to the camera roll in Explain Everything it becomes a video. Then you can open it and listen to the student reading the story as they point to each phrase or word in the story! It is amazing! The best part is that they can share their reading with everyone! During Eat and Read time I open up the SeeSaw app and we watch and listen to the children in the class read us stories on our big Promethean board! The children love listening to their classmates read their stories. It doesn’t get any better than that!
We have been using the SeeSaw app to share our work on the iPads this year!
This is an amazing product that lets us share the work that each child does in a digital format. Each child saves their work to their own folder which can be accessed at school using a class QR code.
The children can access their own work at home using their own personalized QR code.
The children are able to create projects and then share them using the QR codes to access the site and then upload their projects from the camera roll! Way to much fun!
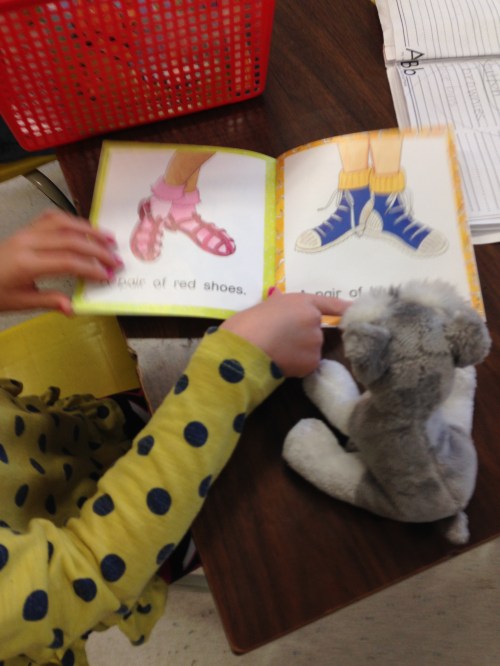
We also read our books to our favourite stuffies without any technology! Both ways are awesome! Had to take this picture as it was way too cute!
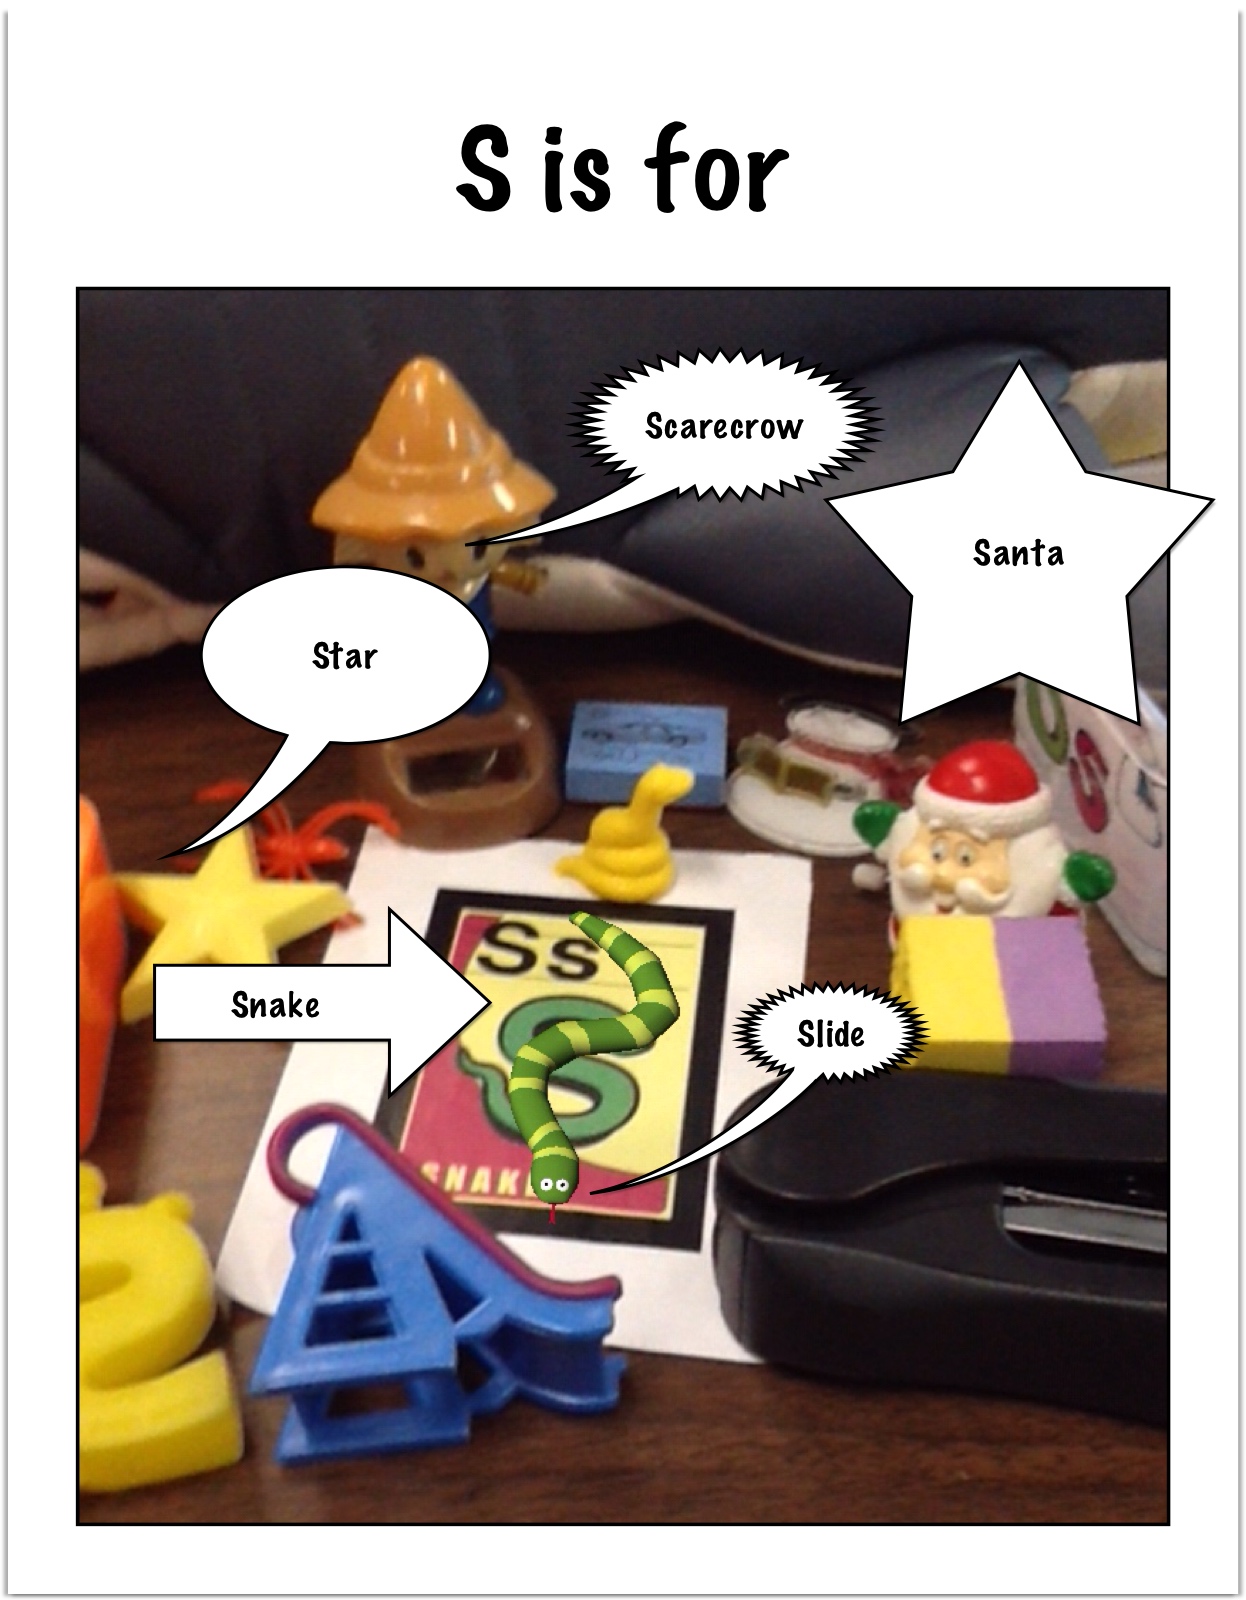
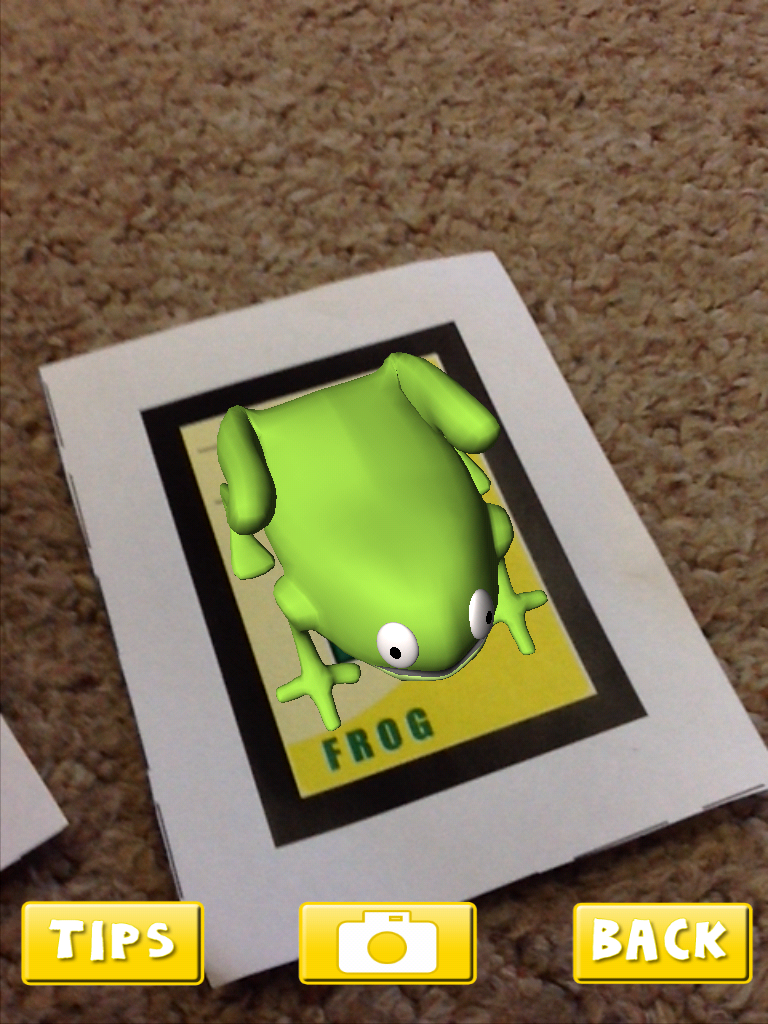
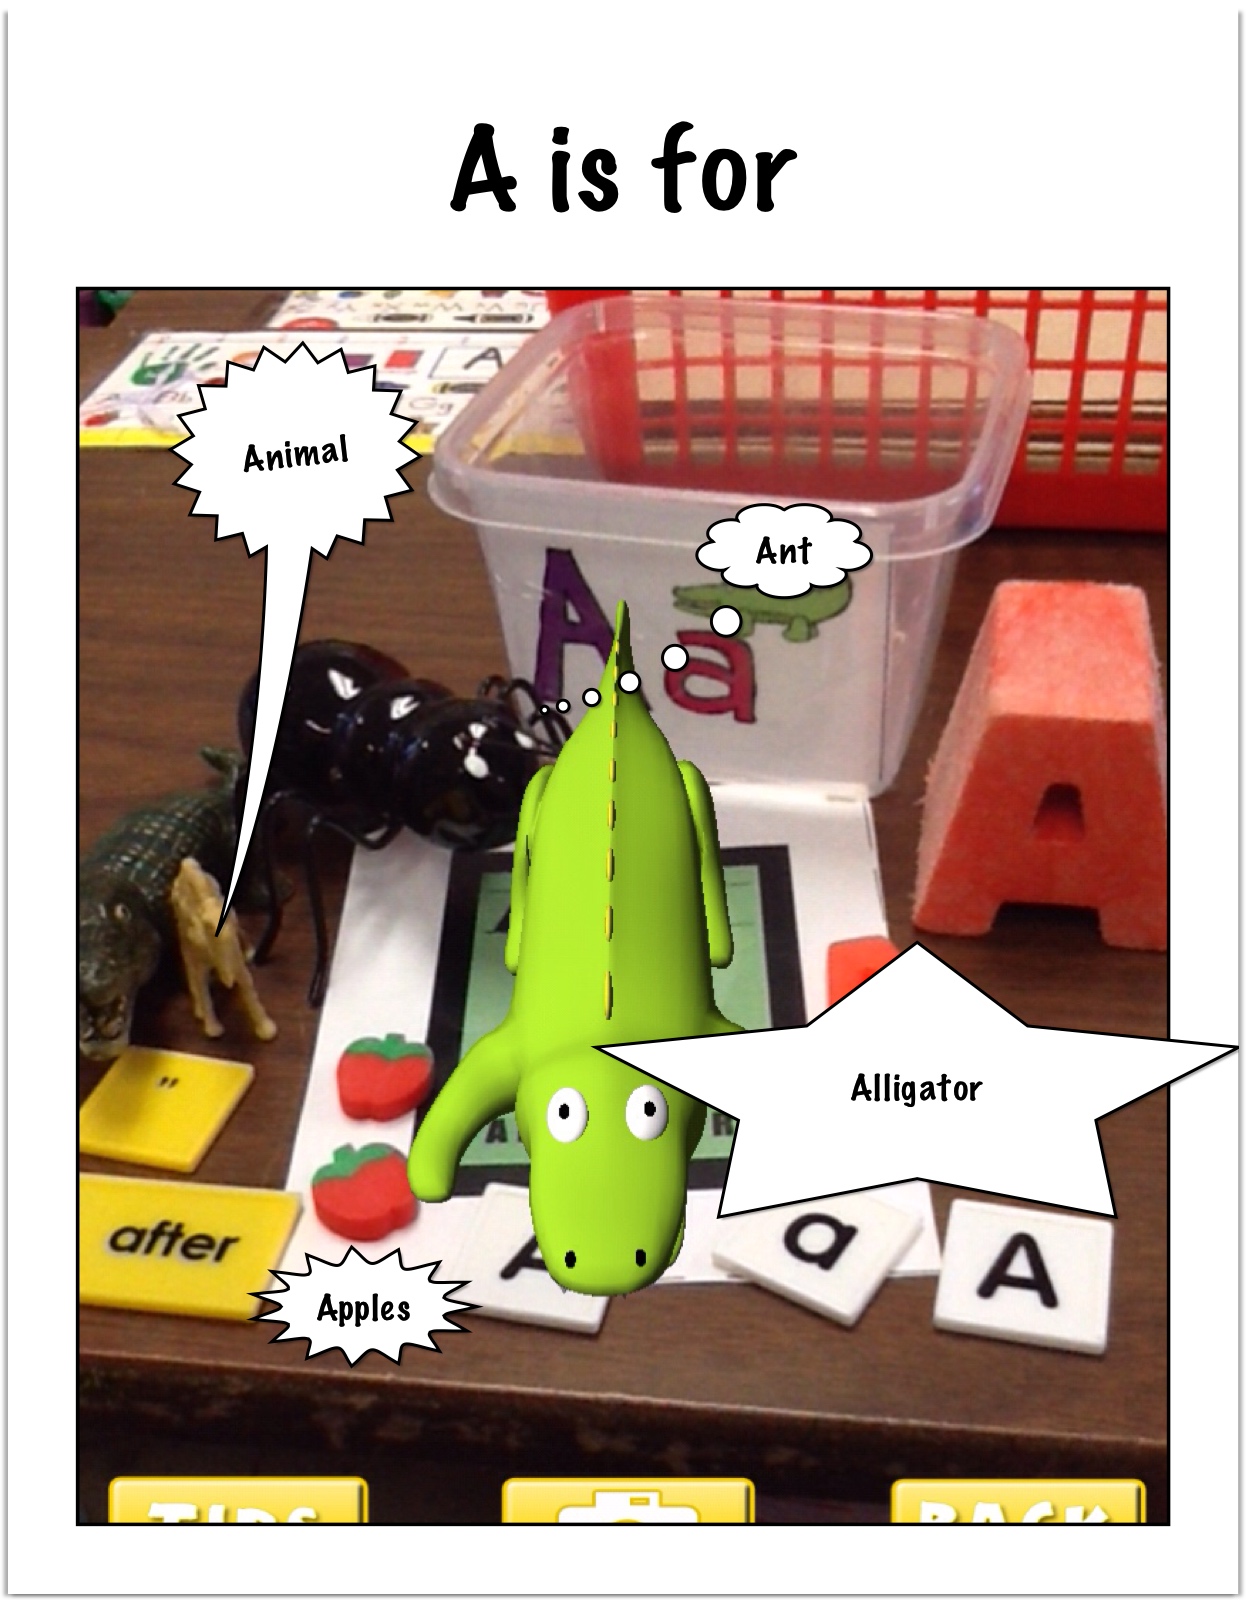
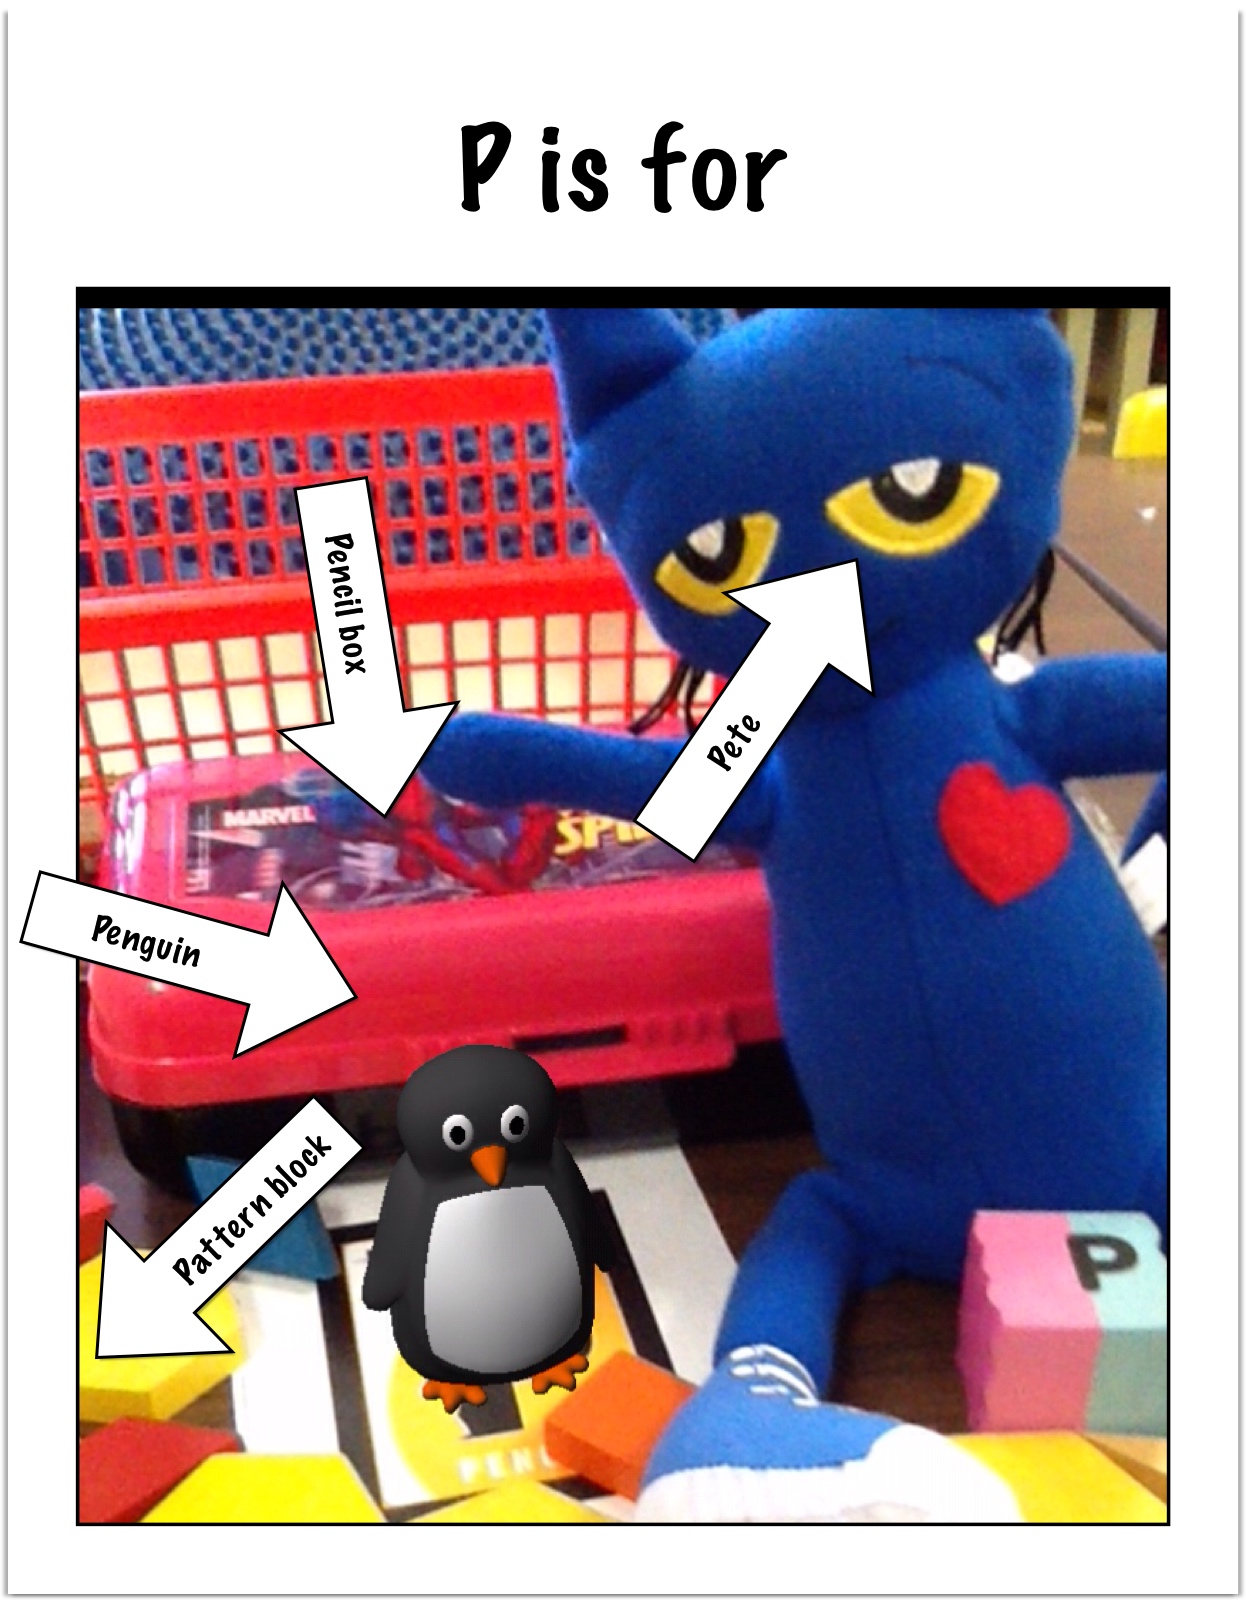
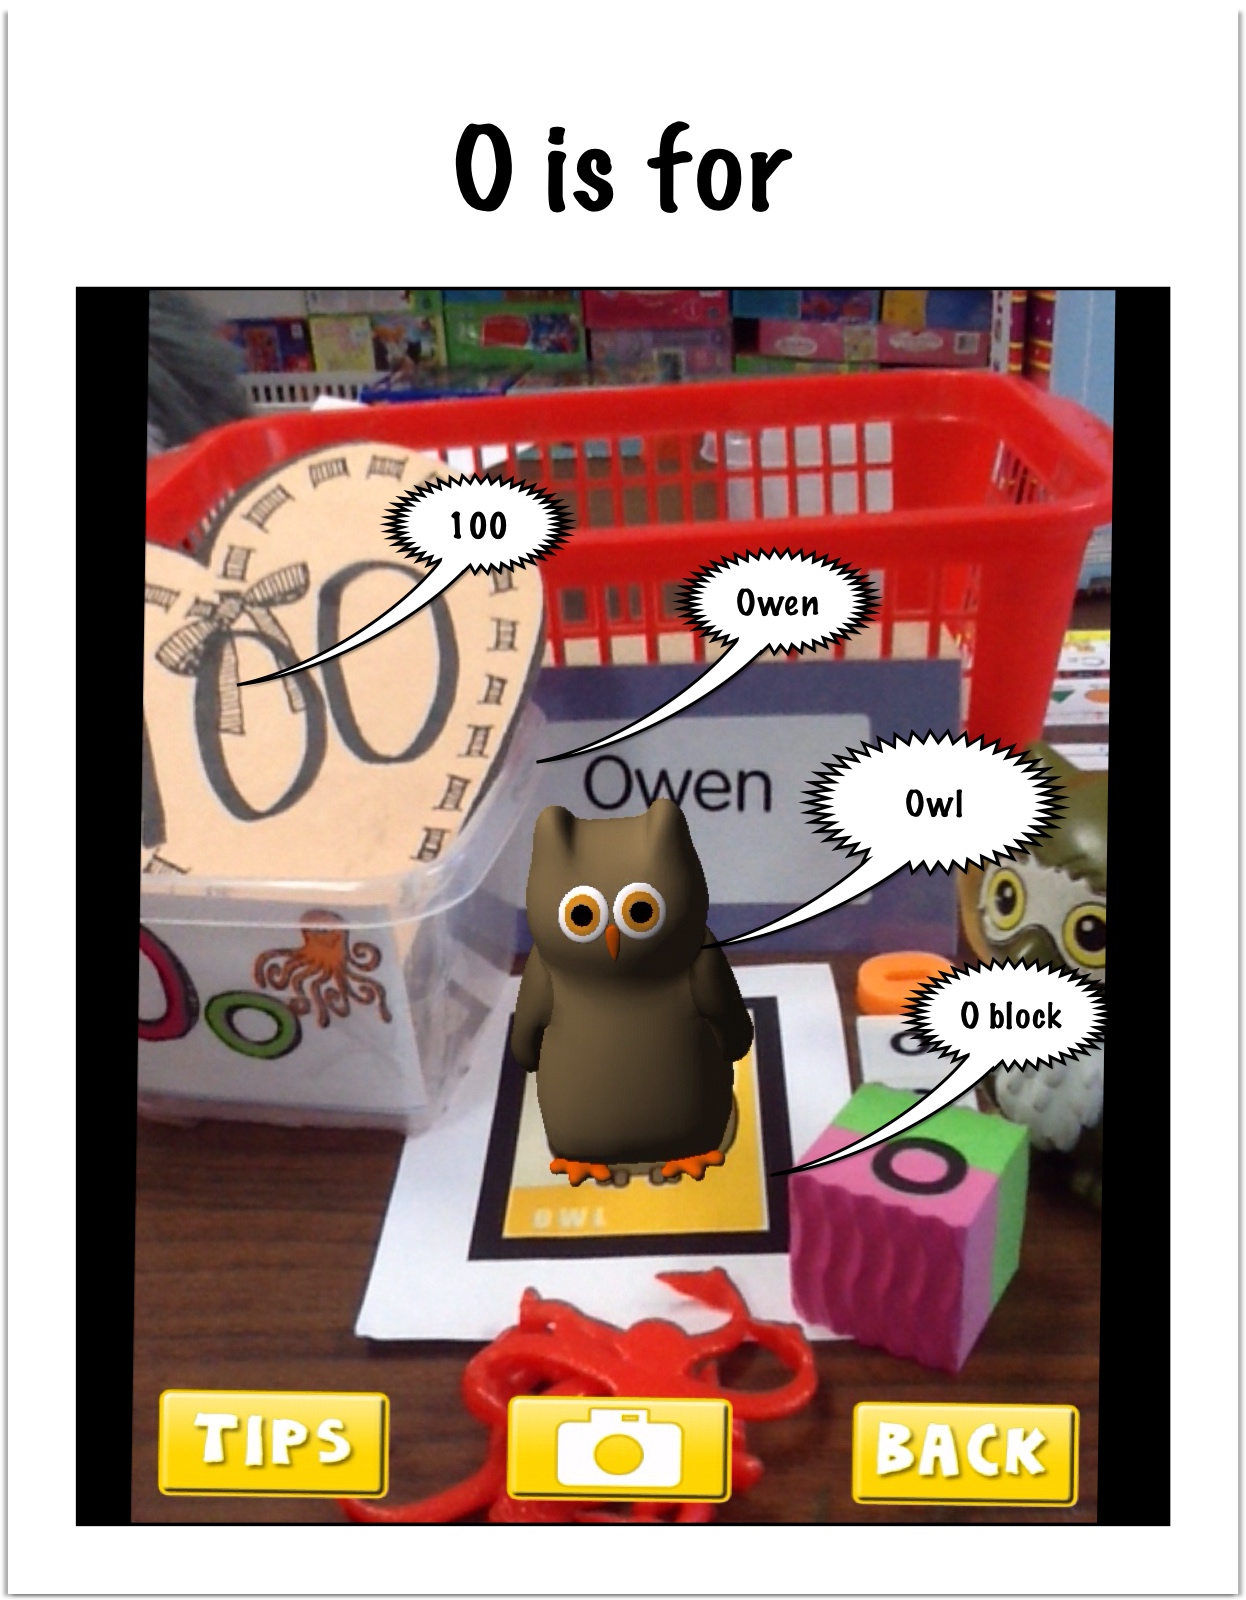
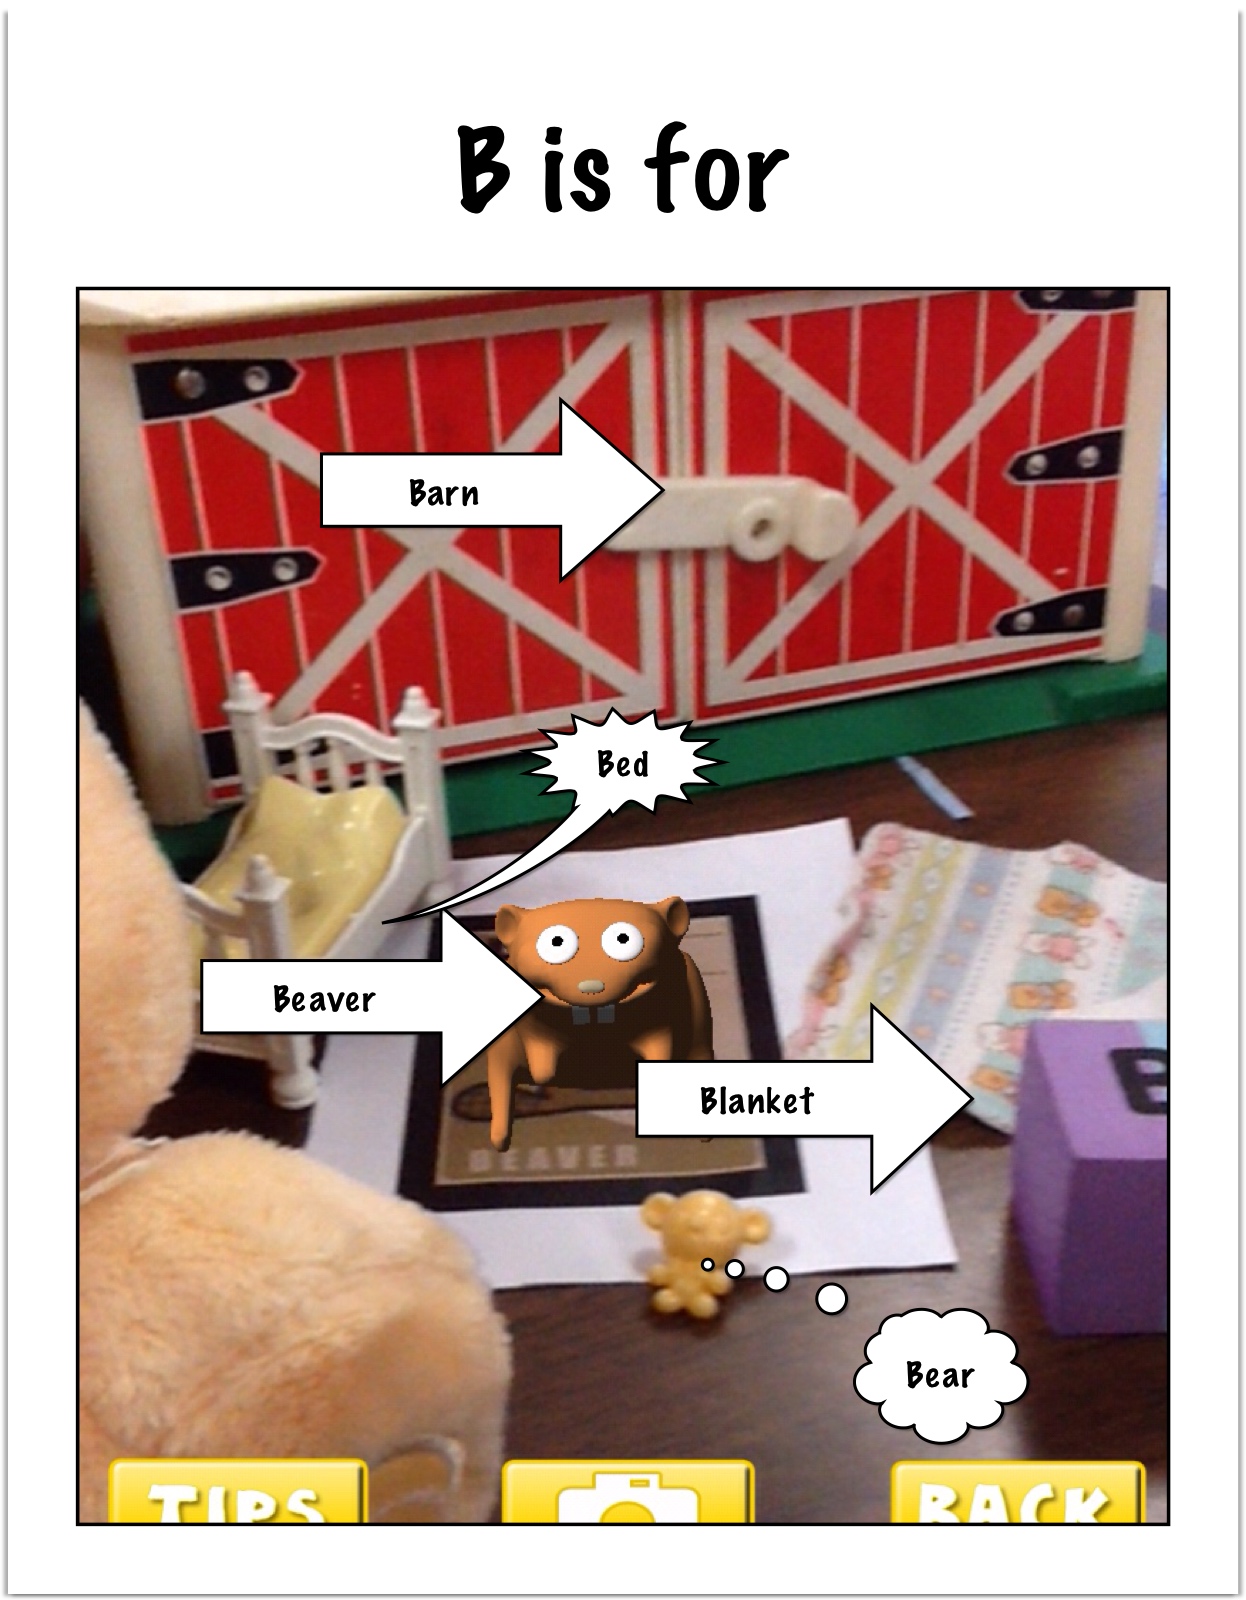
This is the alphabet book that we created this year using augmented reality! We think it is pretty cool!
We used a combination of apps to create this project. The children have been using the app AR Alphabet Flashcards this year a lot!
They love trying to hold the augmented images that appear when you hold the iPad over the trigger images.
We created the pictures for our pages in our book by having each student pick a letter. Then they searched the classroom to find other real objects that began with the letter they had chosen. We grouped the letters together around the trigger image picture. Then we opened up the app and took a picture of our collections with the trigger imaged engaged.
The children then imported the picture they took into the app Strip Designer from the camera roll. We used a simple frame to title each page. They then used the balloon option in this app to label the objects in the picture.
I imported all the pictures into Explain Everything in alphabetical order. Then we had Owen, Celia, and Elsa narrate the story!
We then saved it to the camera roll and I uploaded it to our Youtube channel to share with the world!
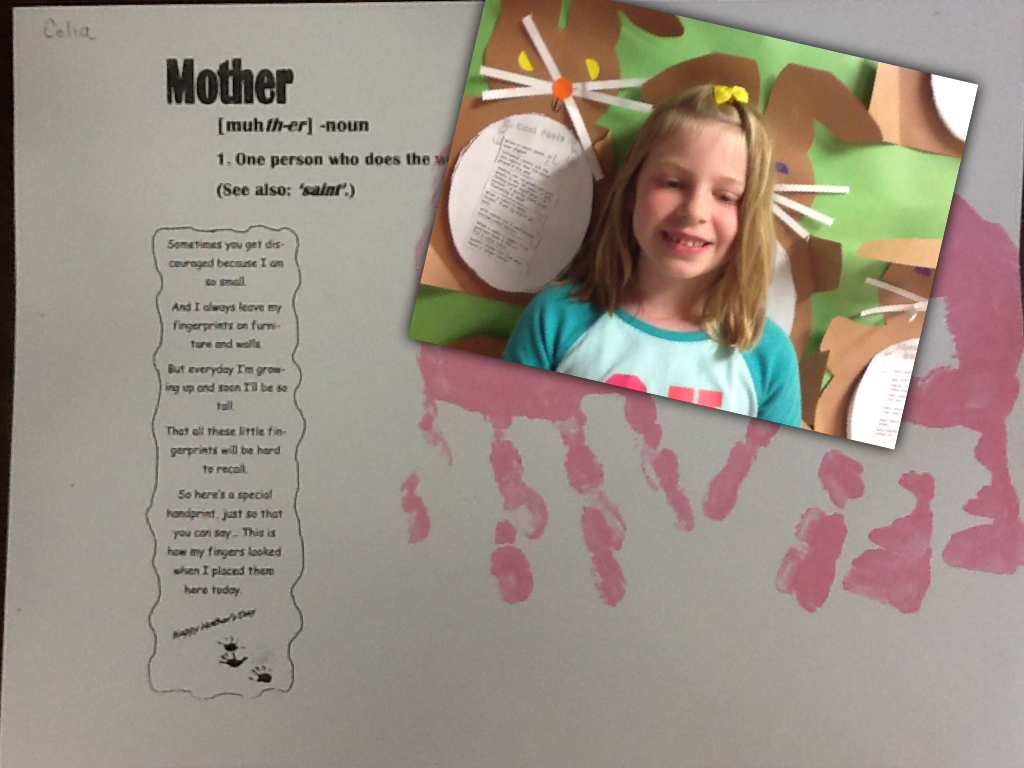
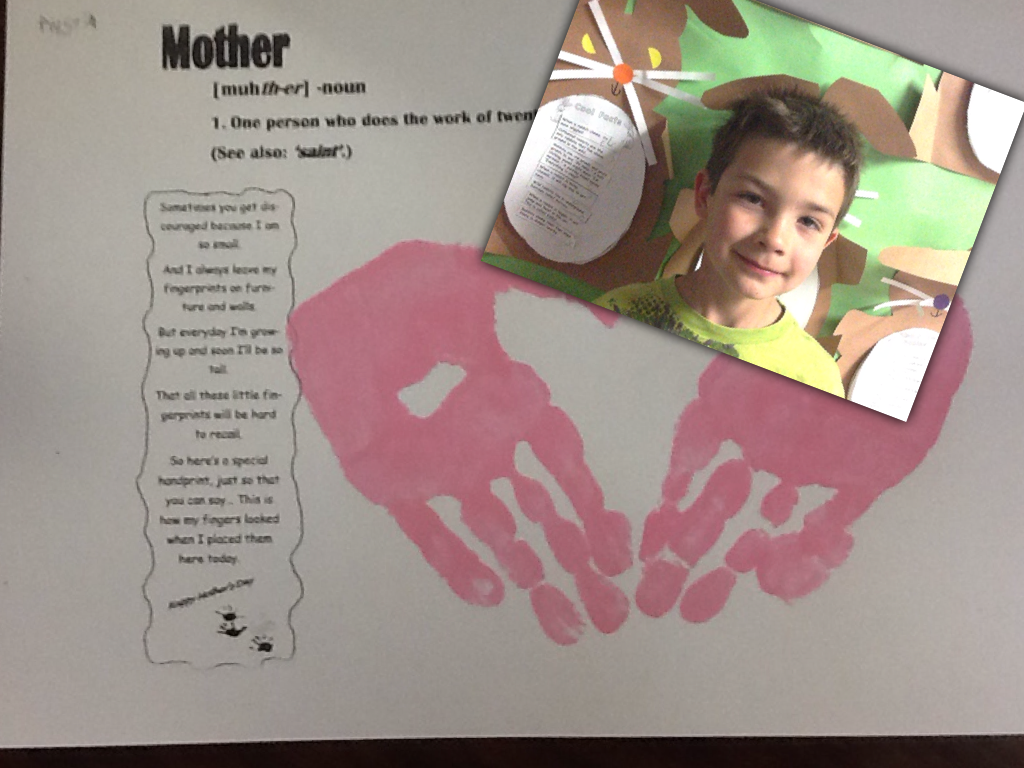
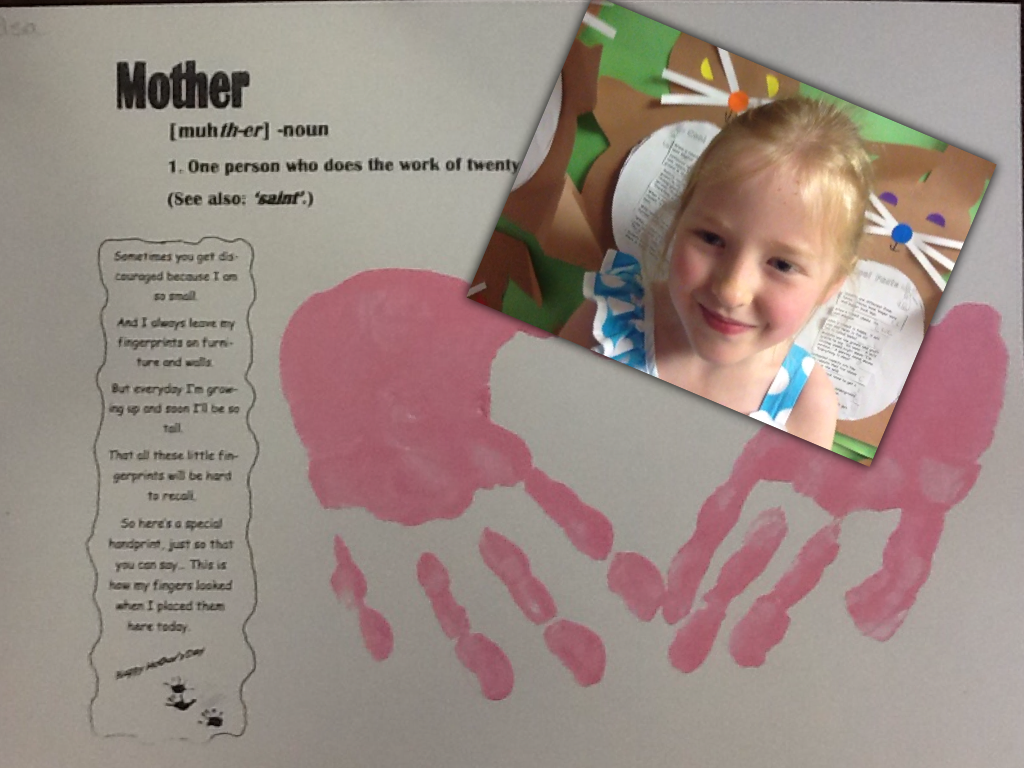
Hopefully, everyone had a great Mother’s Day! The children had a great time making their special project for you! Some of them were very comfortable making a video and some were a bit shy but I think they all turned out perfect!
Thank you for your help sending me an email so I could forward their special Mother’s Day cards to you! It made the whole process a bit simpler. We use the app Explain Everything to make the cards. I took a picture of each of their cards that we made using their hand prints. Then I superimposed a video onto the page and recorded their comments. Some of them need a little prompting but I think they were pretty happy with their efforts! Then we saved them to the camera roll as a movie.
I copied them off the iPads and saved them onto my computer at home. And sent them to you!
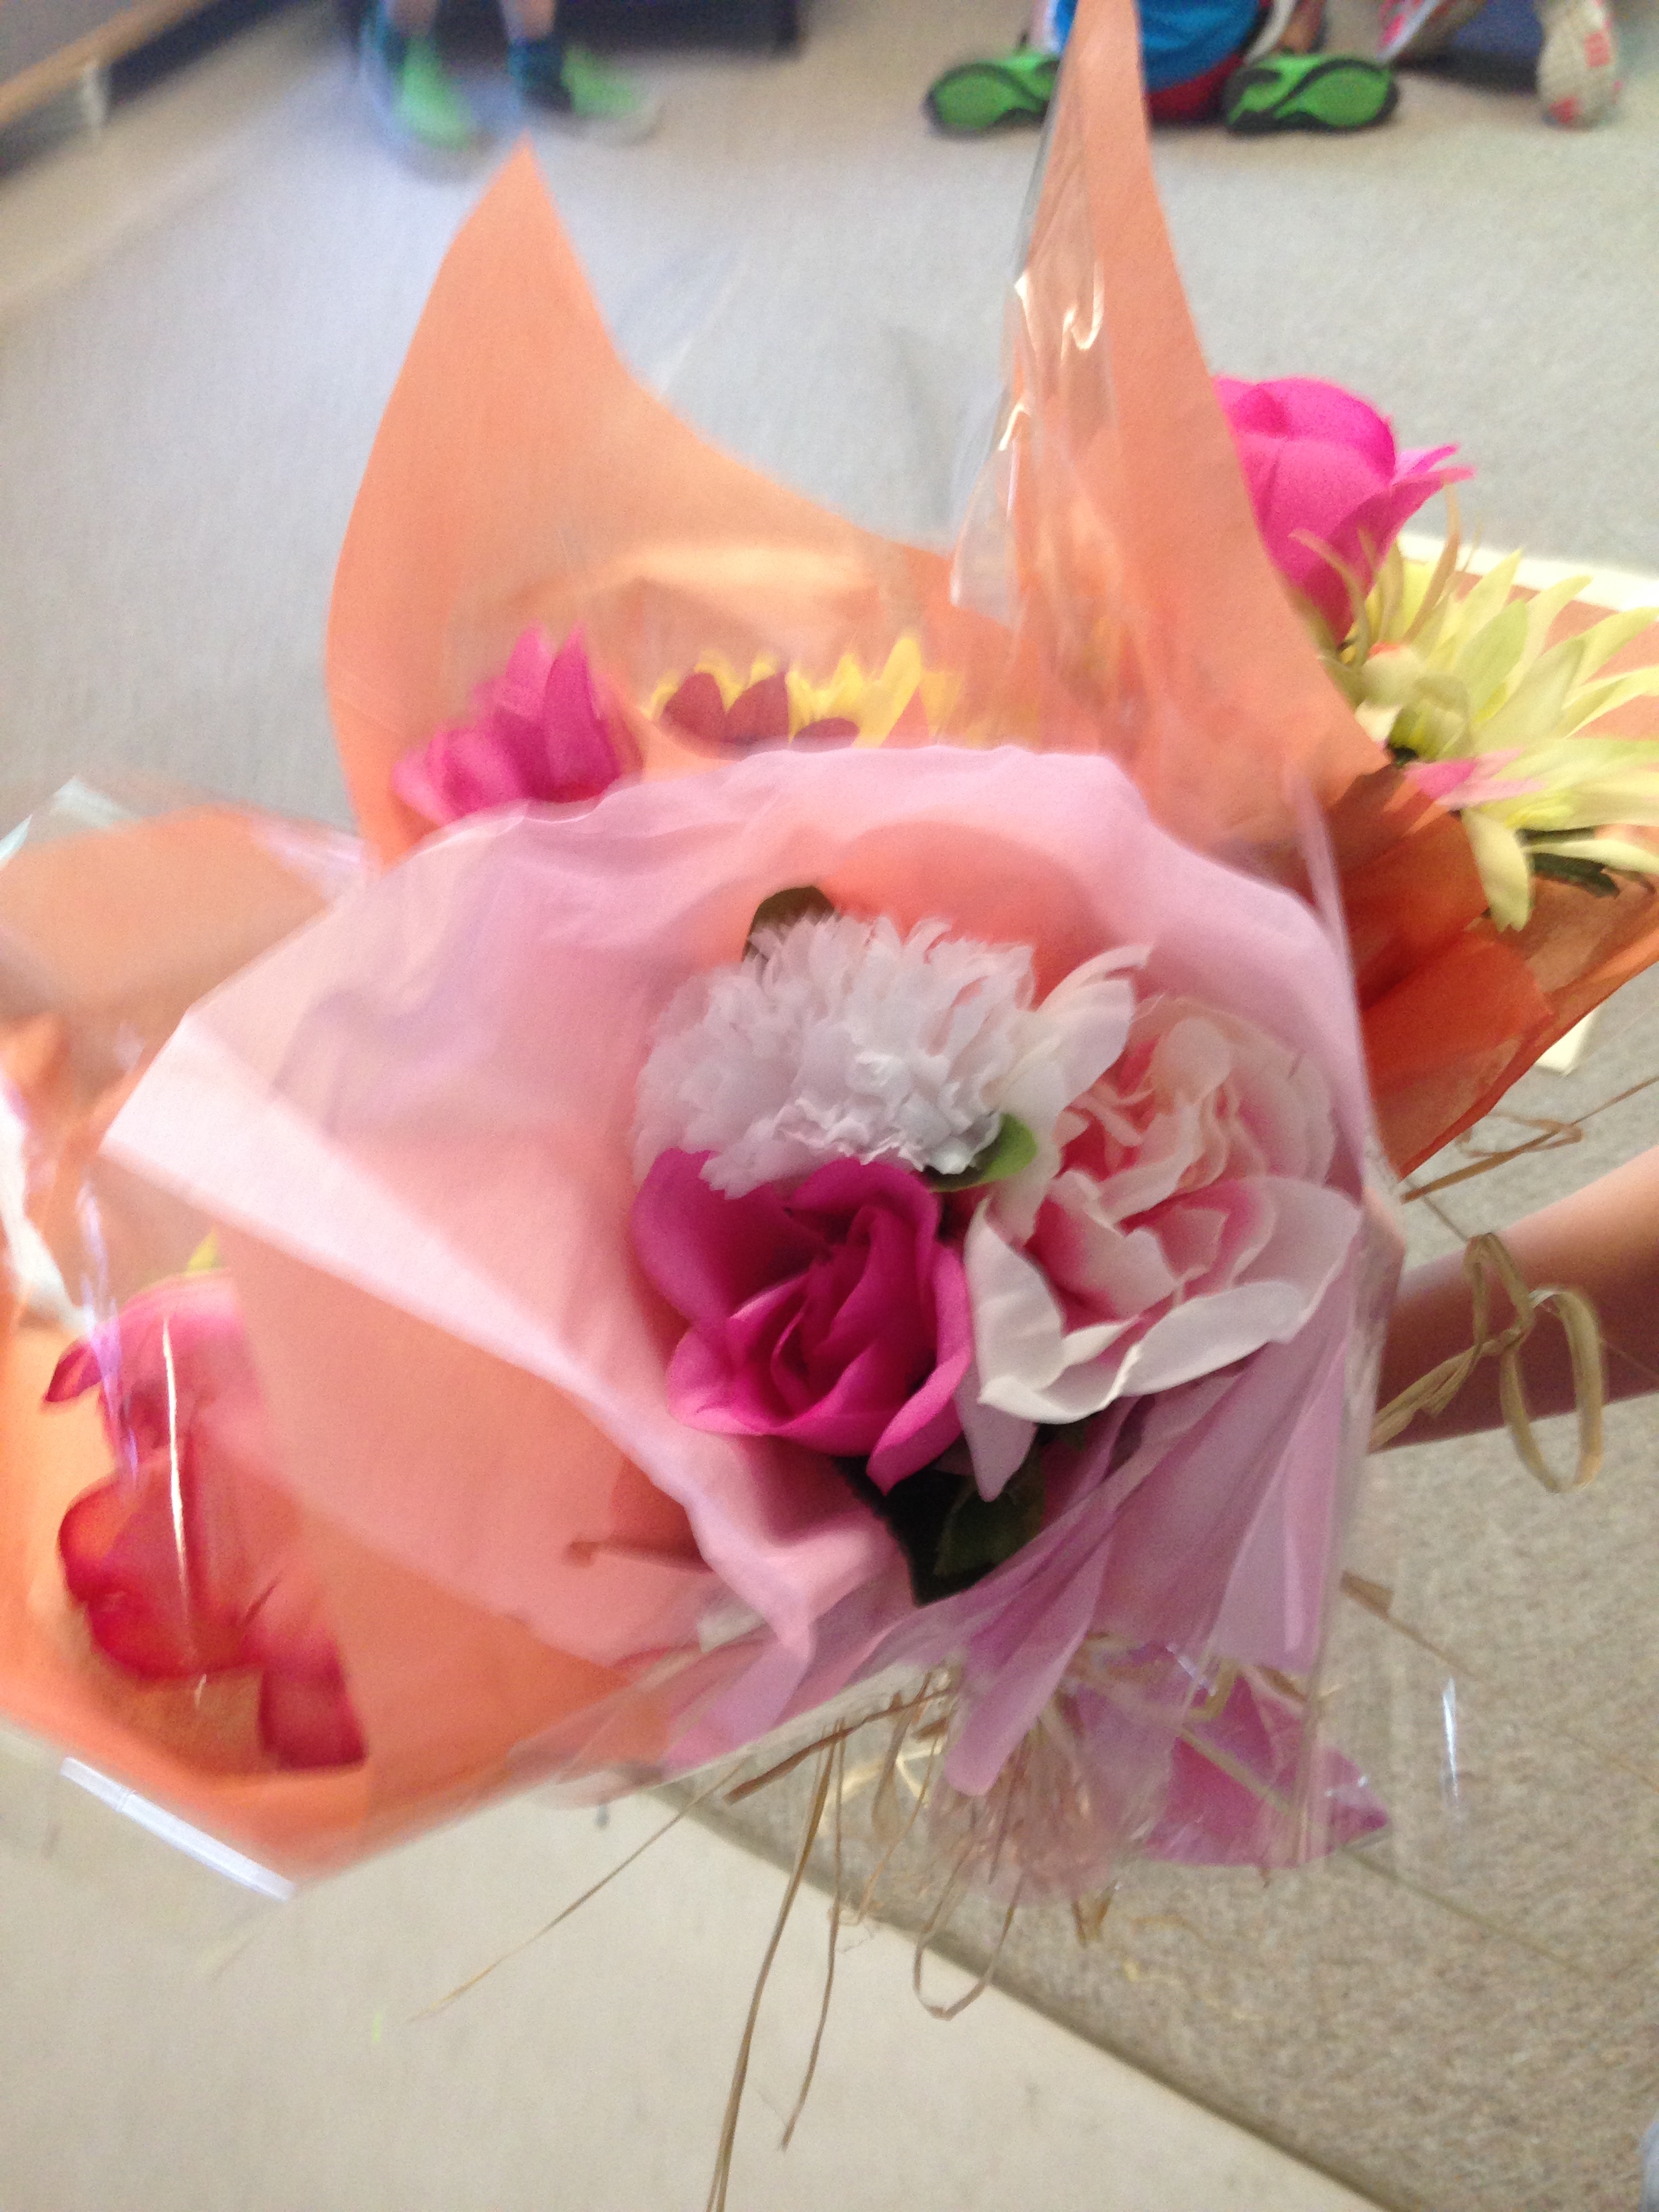
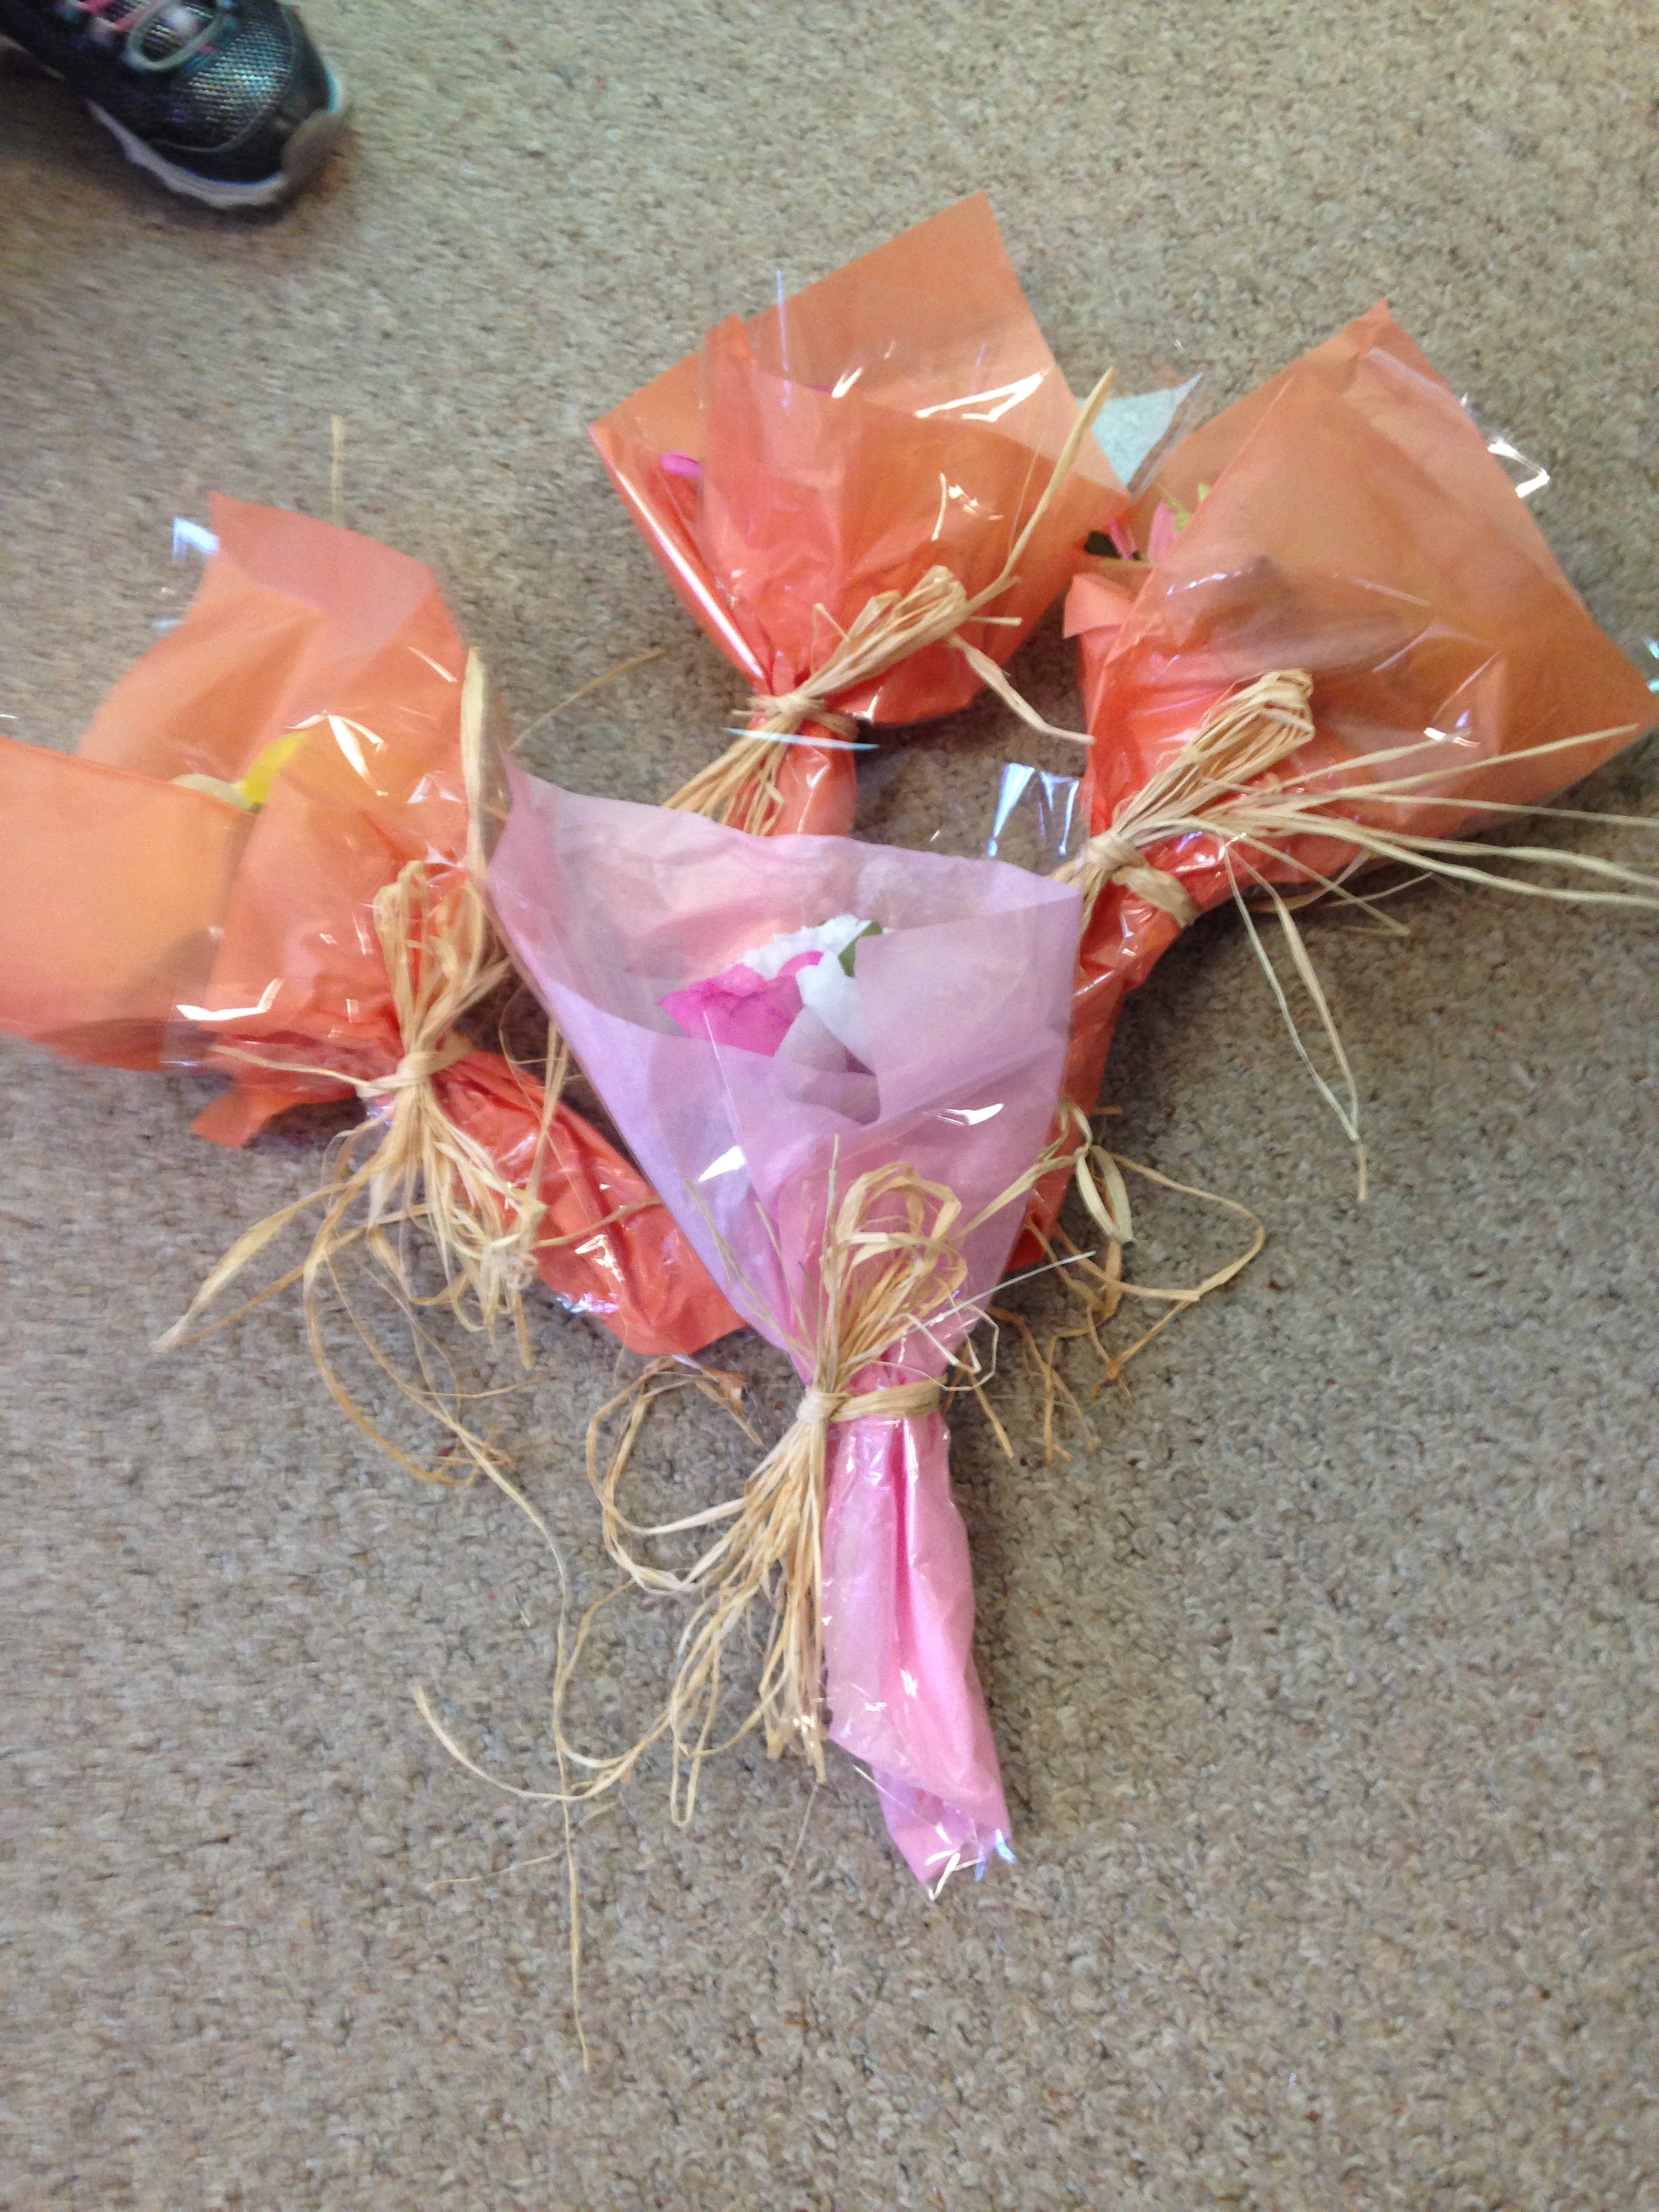
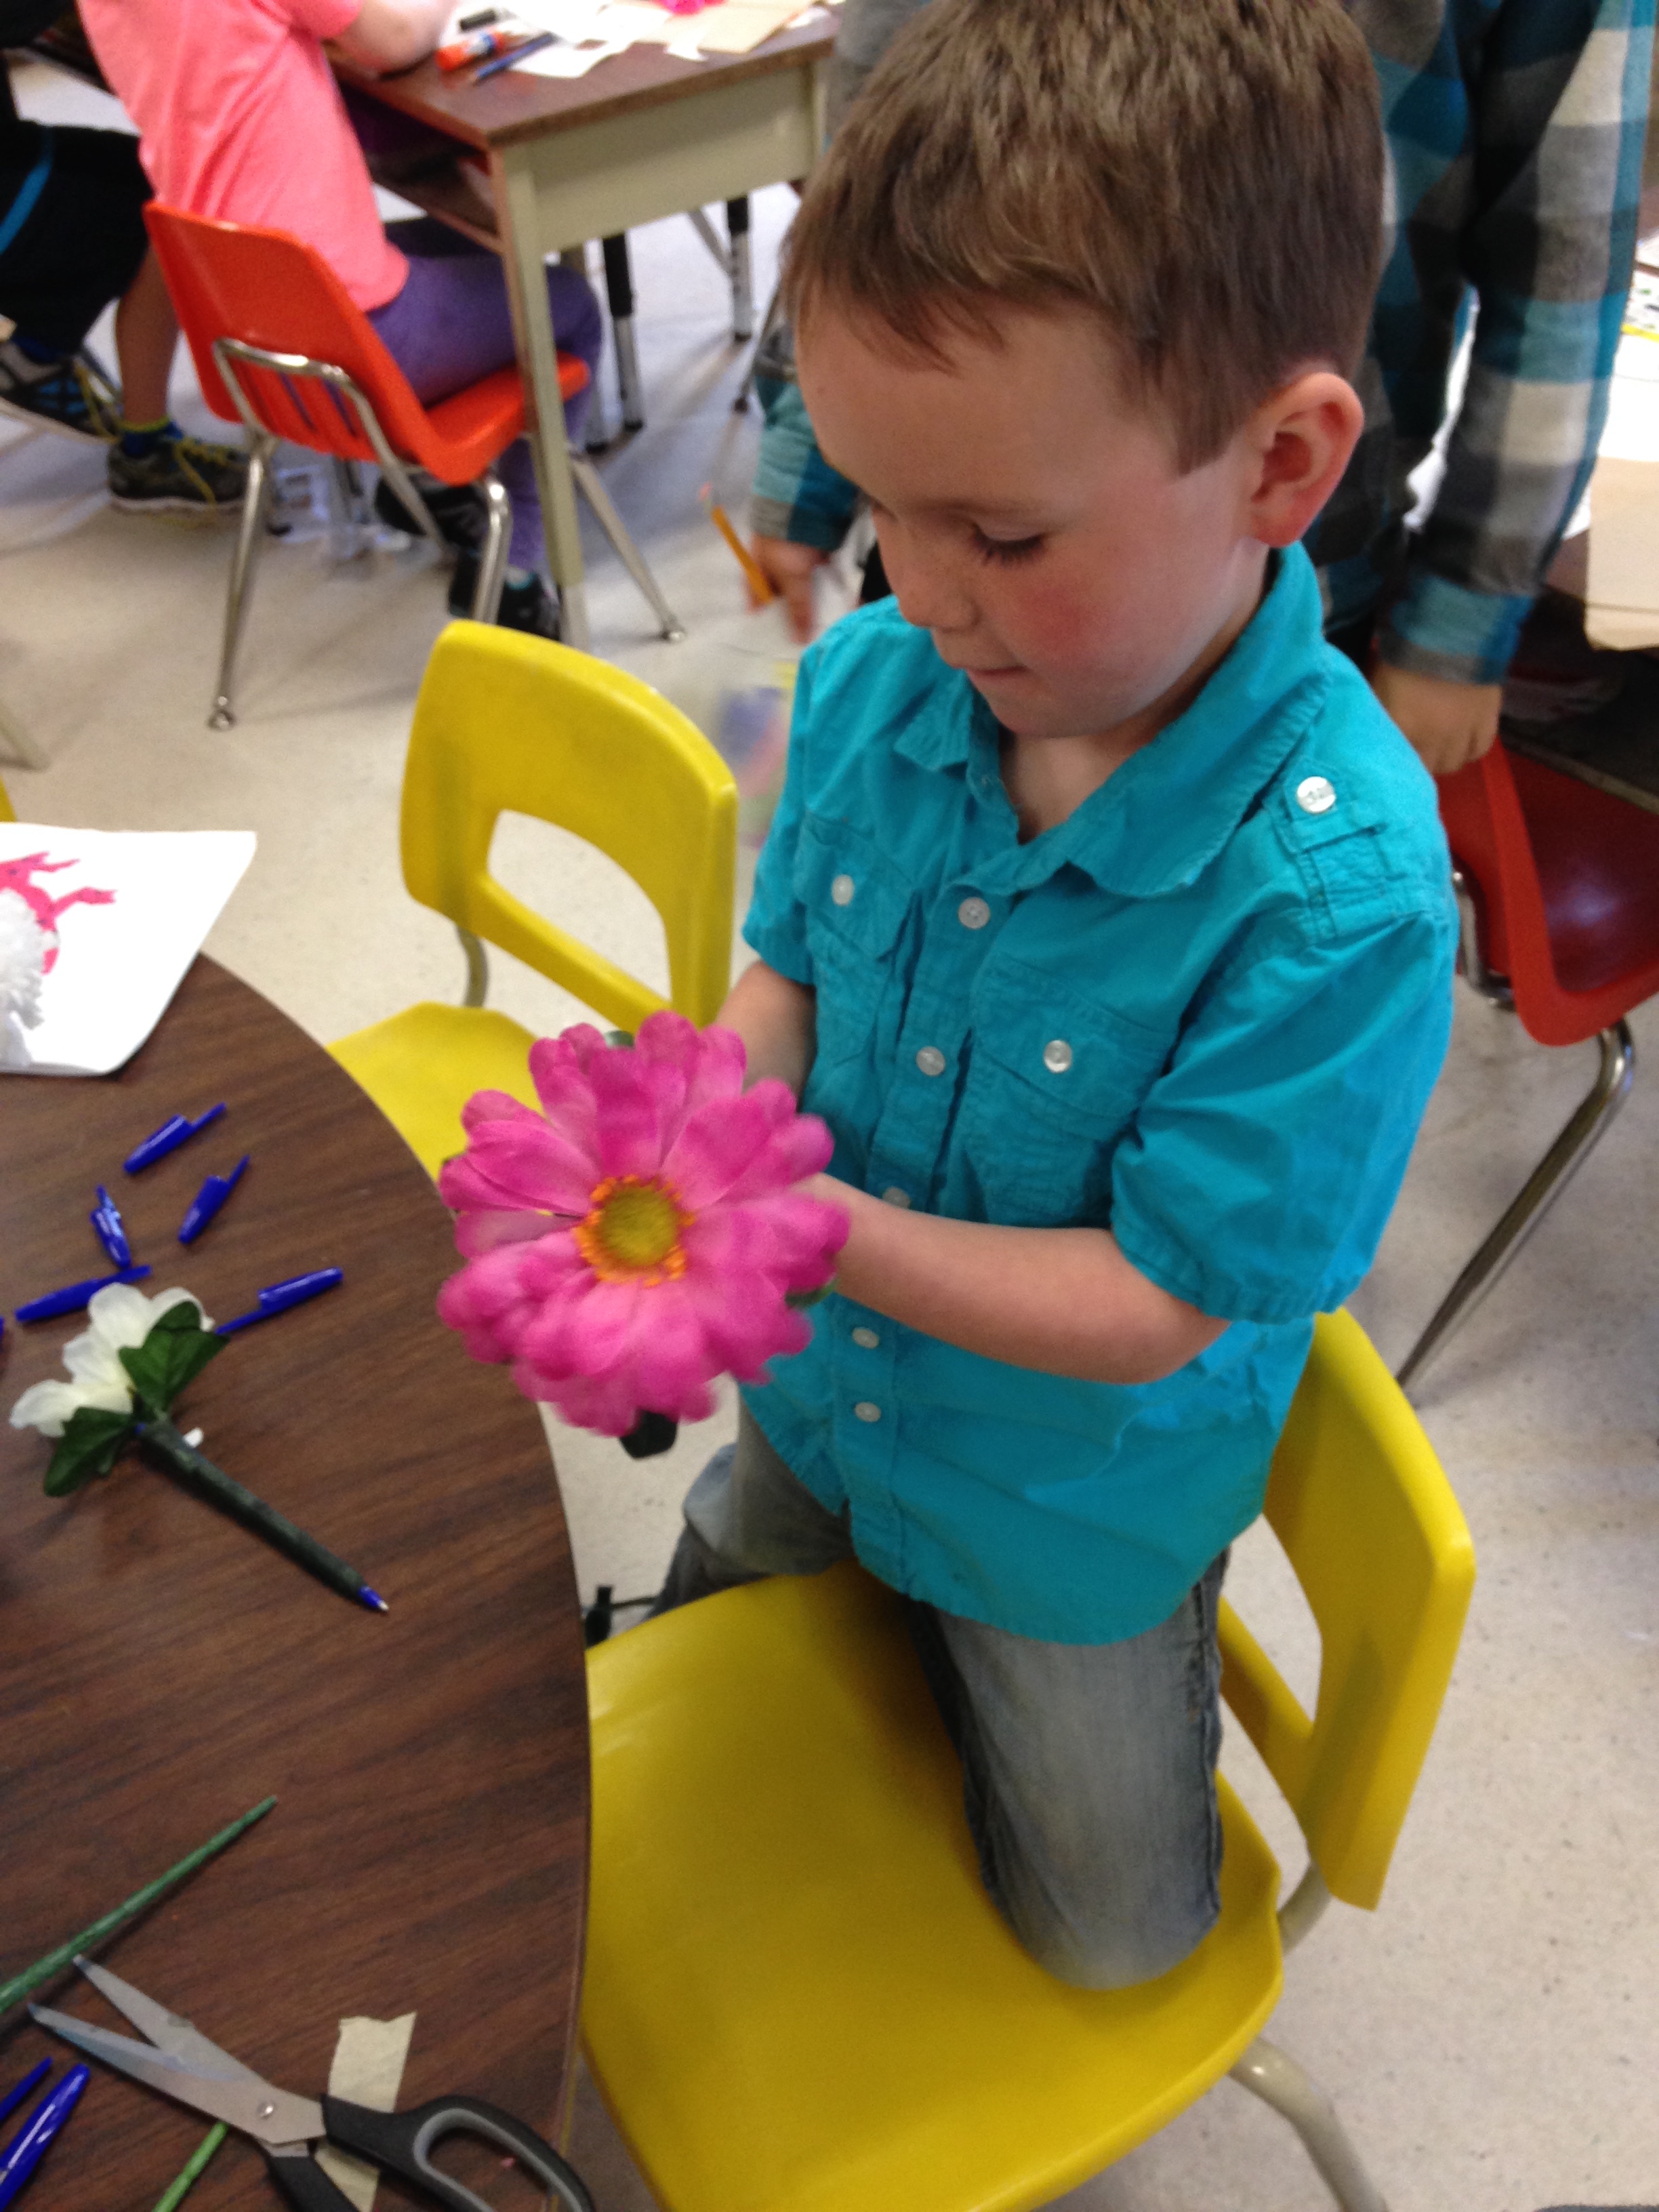
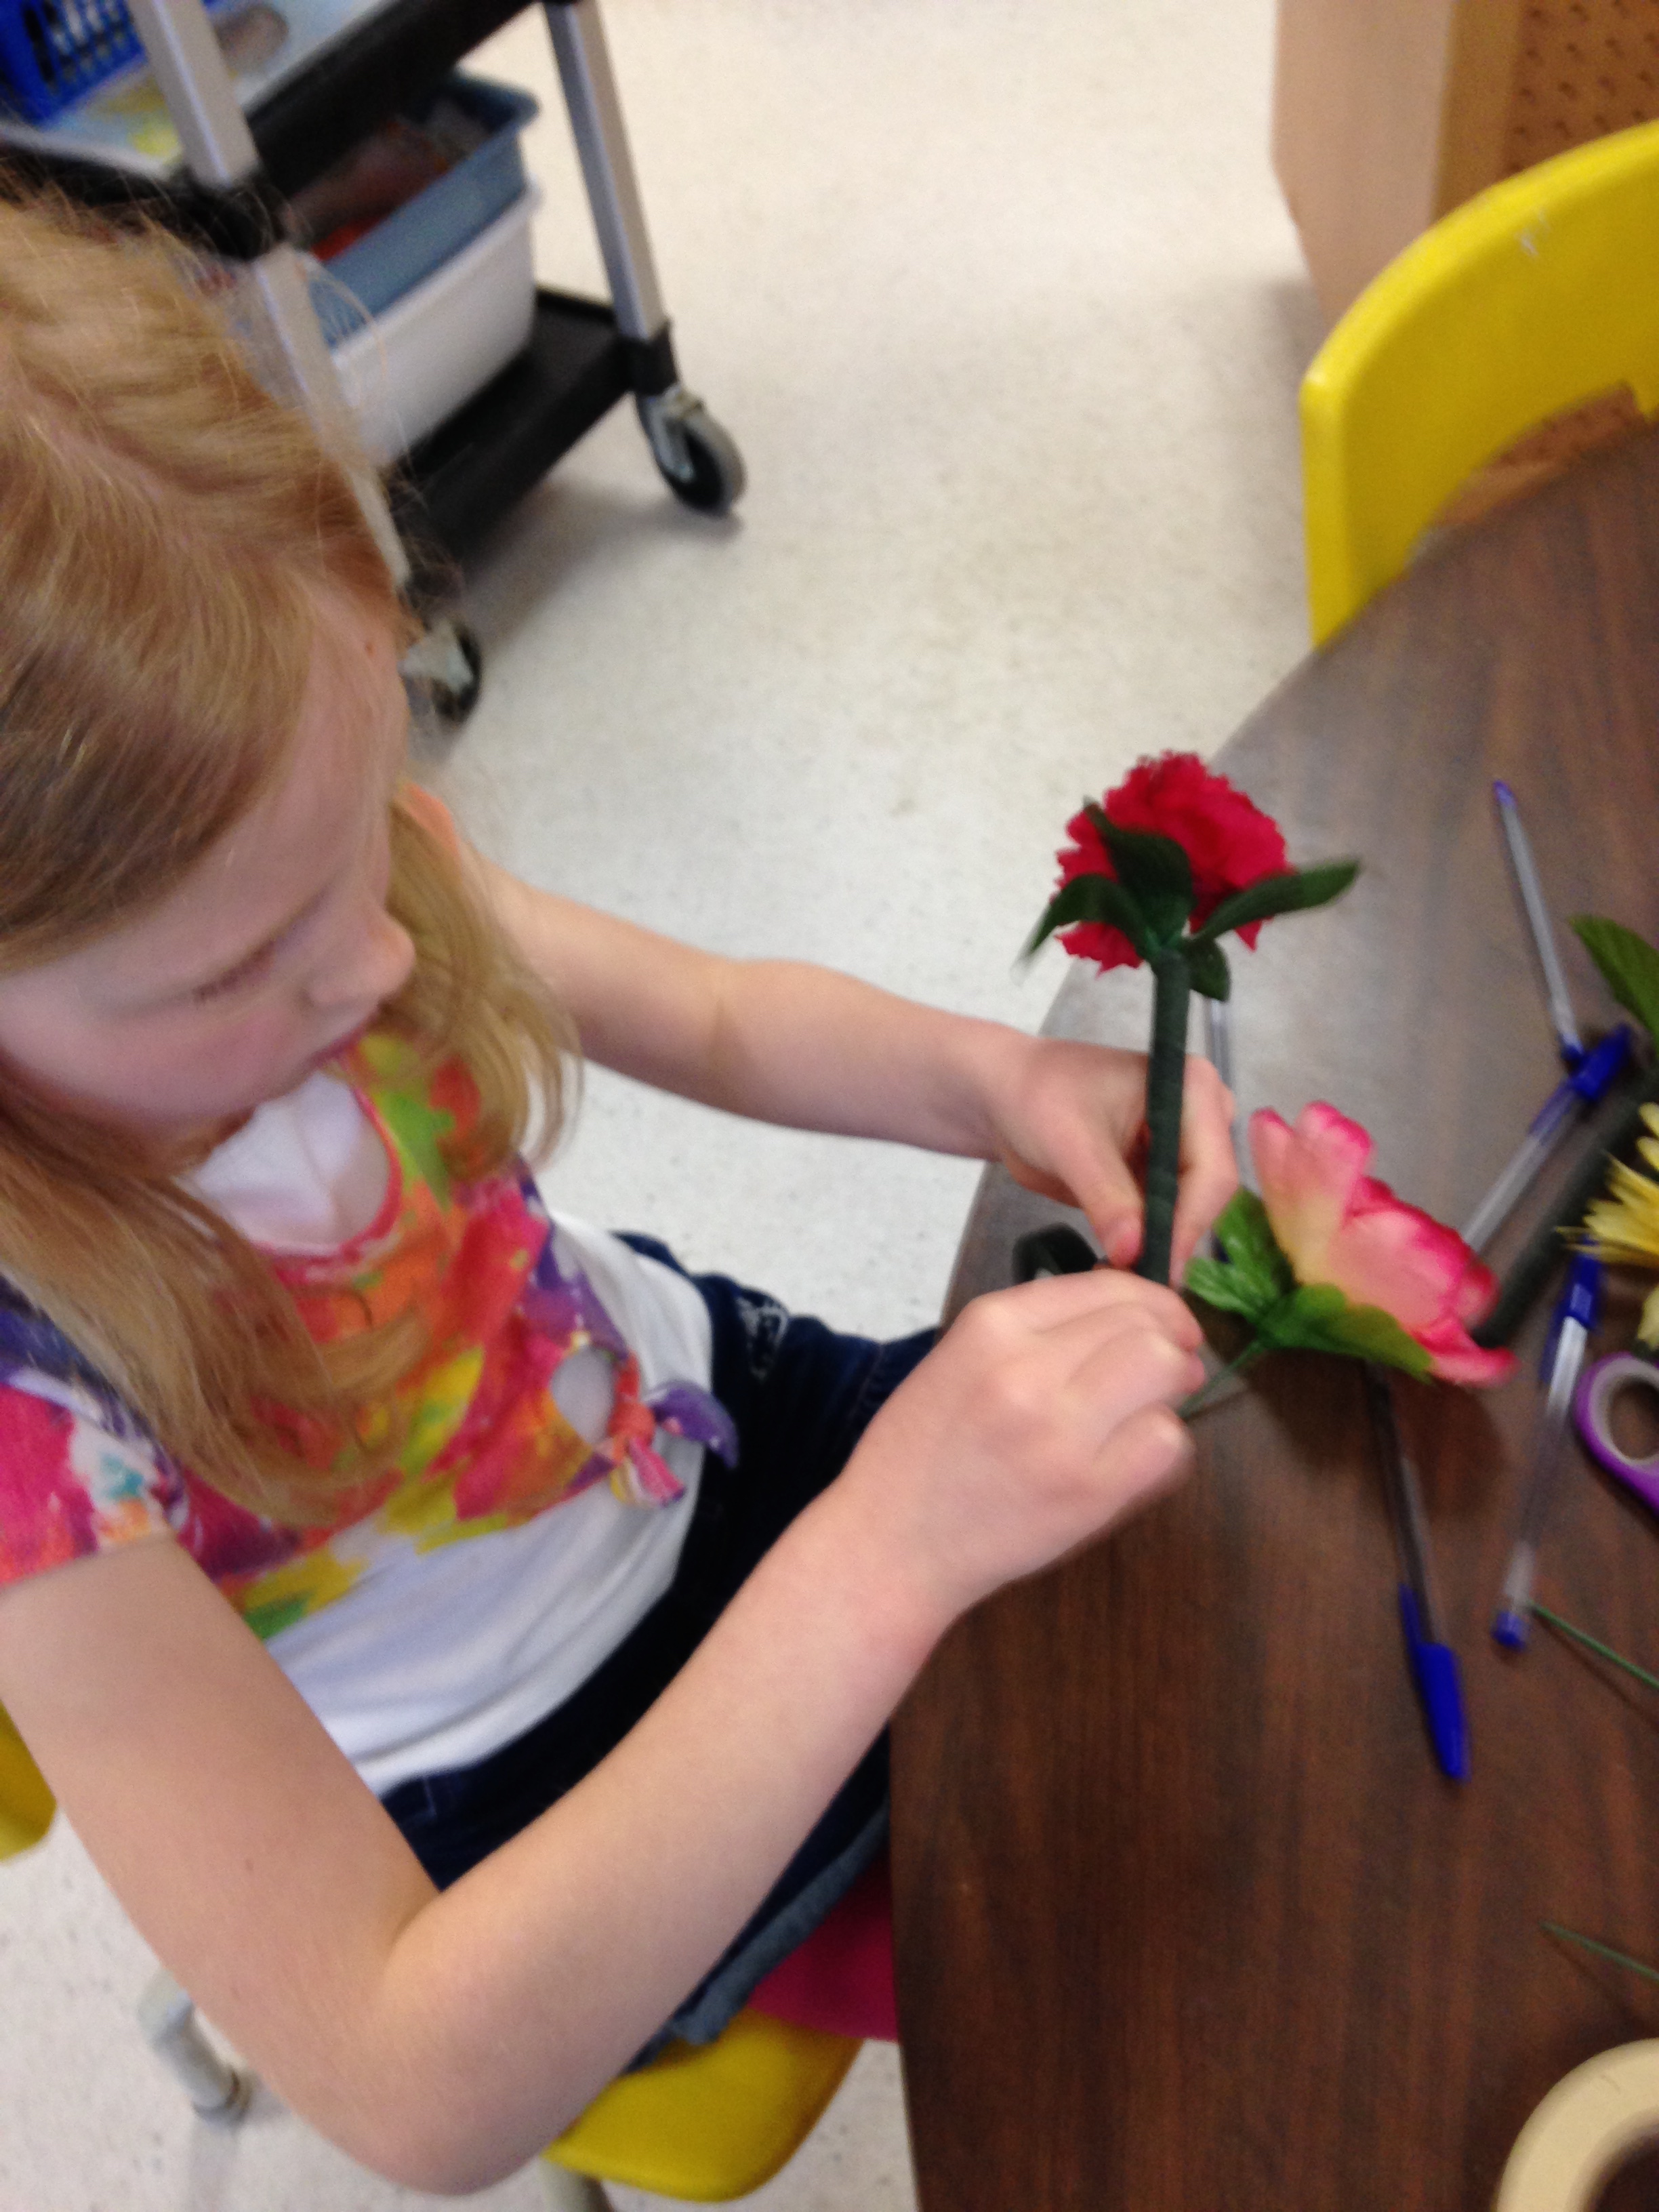
We hope you enjoyed your Mother’s Day flower pen bouquets as much as we enjoyed making them!
When I explained that putting the florist’s tape on the pen was like wrapping a hockey stick with hockey tape the boys really got it!
I wish you could have listened to their comments as they were making the flower pens! Lots of nice comments about their Moms. It was fun to hear about why their Mom might like a particular color or flower!
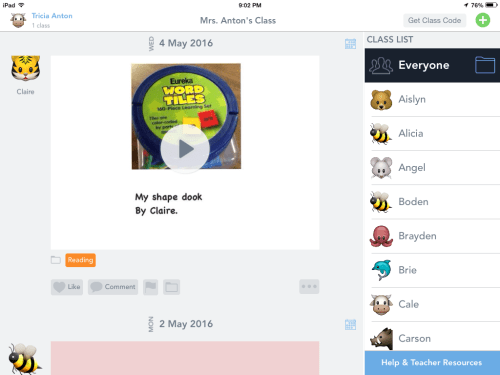
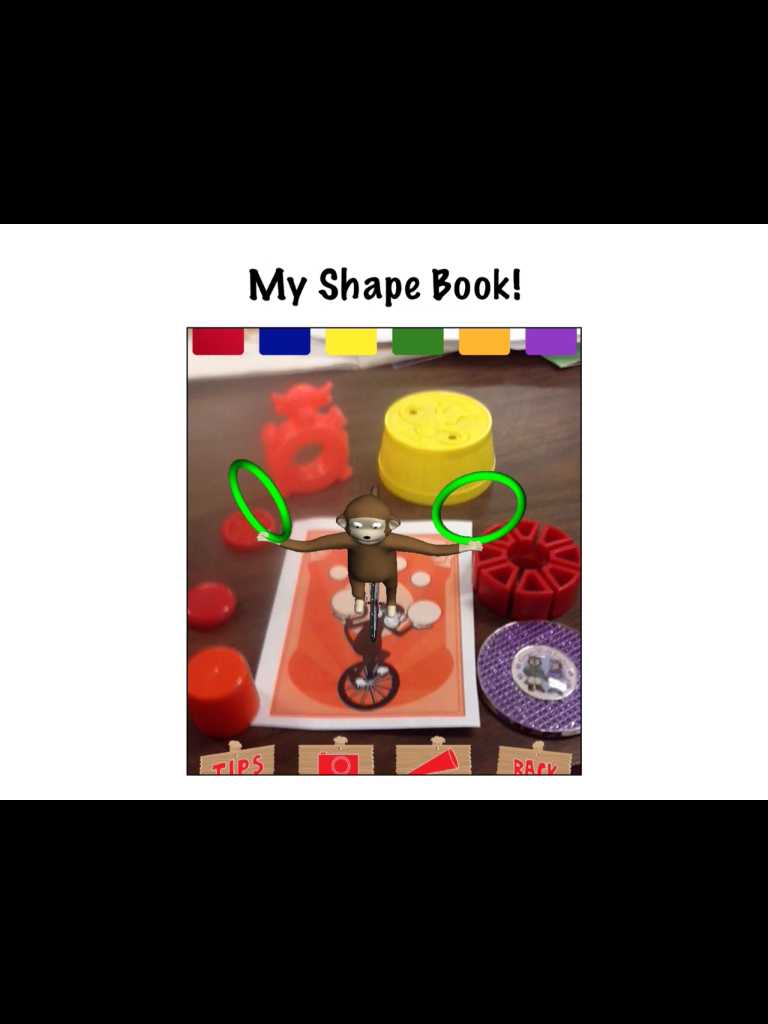
We have been using the Explain Everything app to create our Shape books. The children used the camera option within the app to take pictures of objects in the classroom.
We made a list of the different shapes and they scoured the room taking pictures of the shapes they wanted to put into their books. Then they added a sentence describing their shape using the text option. After they had completed a cover page and their pages they went back to each page and recorded their voices reading each page. Some students even added arrows pointing to the words or objects on the page. Once that was complete I saved their project to the camera roll and uploaded it to Youtube.
The children were amazing. They found the objects that they needed and even learned how to crop their pictures so that only the part of the picture that had the shape they needed would be in the picture! They also recorded all of the pages all by themselves!
It was really fun to watch them create this book! They are becoming so independent and proficient on the iPads. Nothing scares them!
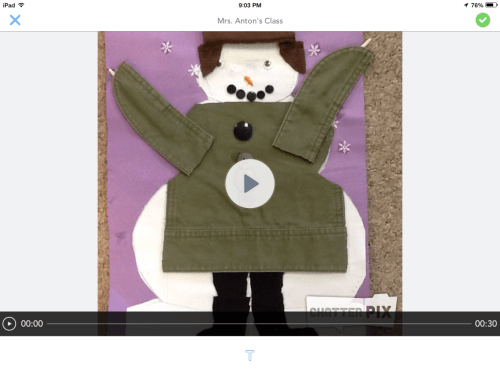
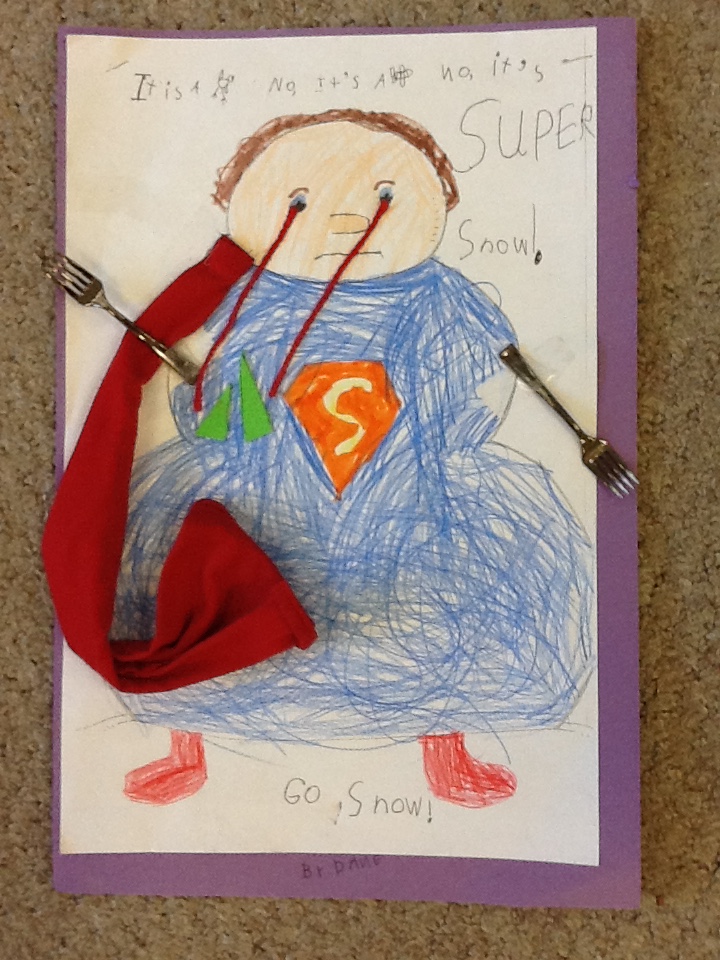
We have been working hard creating our Snowman books on the iPad! We have the first few finished projects to share with you! We hope you enjoy reading and viewing them as much as we have enjoyed creating them!
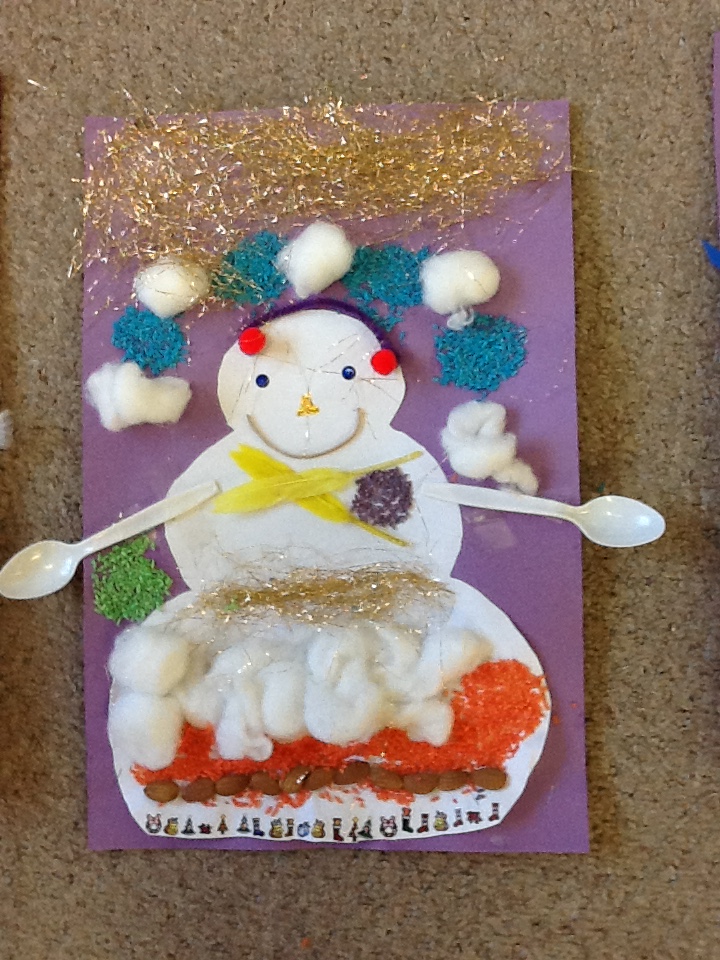
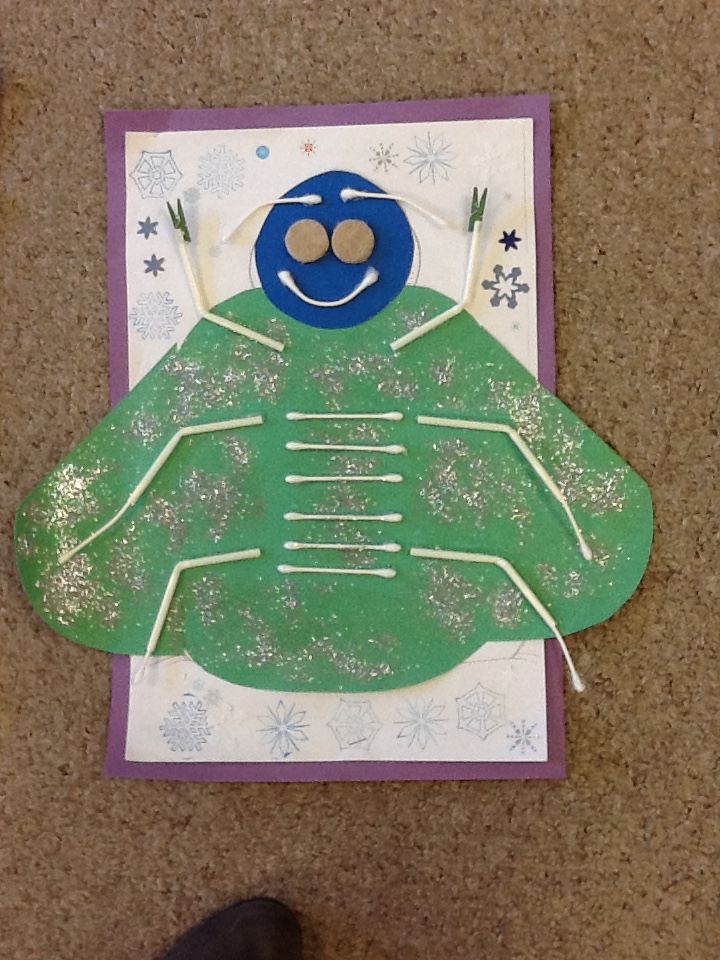
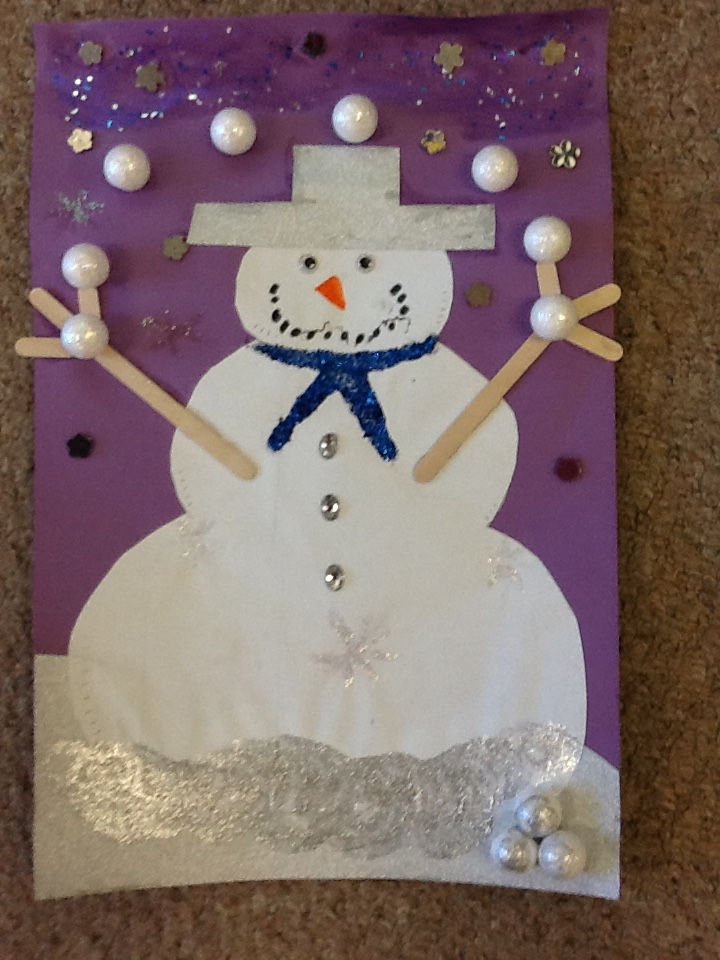
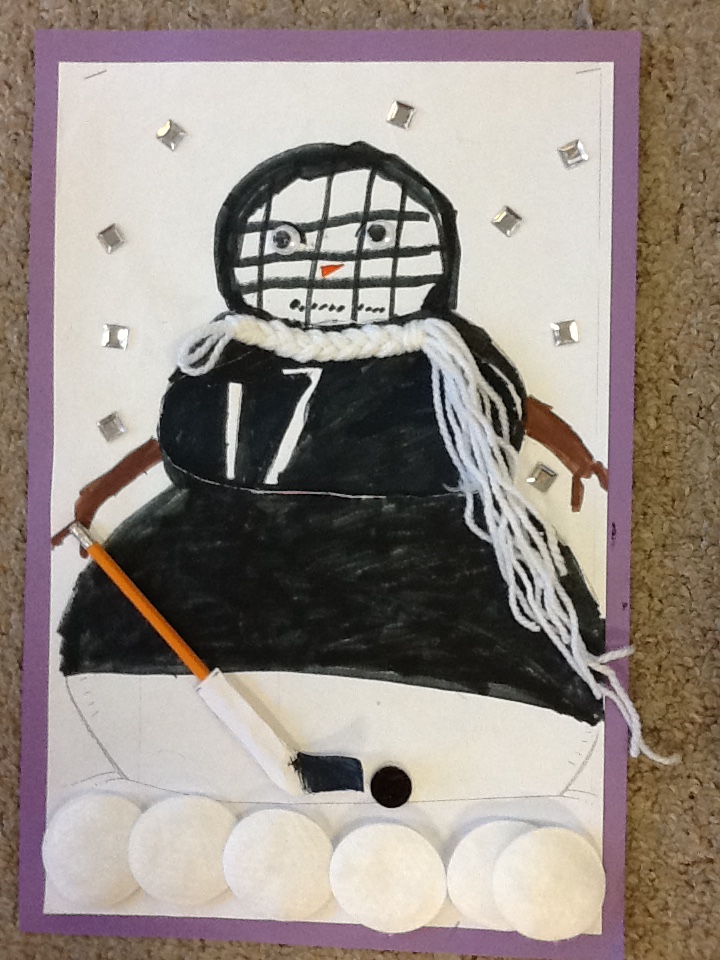
The initial sparks for the projects are the amazing snowmen that were created at home by the students with their families!
They are fabulous! To set the stage, we read the story The Snowman by Lois Elbert. It is a great story about how a family saves up a variety of materials to decorate their snowmen.
I sent home the template with the children and several weeks later these wonderful snowmen returned to our classroom!
Then we started to compile a book on the iPads about the snowmen. The first page of the book contains a photograph taken on the iPad of their snowmen.
The children opened a project on the app Explain Everything and imported the picture of their snowman from the camera roll. Then they added the title and their name using the text feature.
The children created an additional four pages to their books.
On one page. they had to draw a snowman and then label the snowman using the text feature.
We made one page about what they thought their snowman might like to eat. They had to draw the plate with the items on the plate and label it once again.
The new feature to our snowmen books this year is on the fourth page! It is a new favorite of mine! The Explain Everything app allows you to record every stroke you make as you draw it and narrate your drawing as you build your picture. I thought it would be interesting to have the children describe or teach how to build a snowman. I think you will really enjoy them. I know I can’t watch them without smiling!
The last page is, of course, about the author! The children had to draw a picture of themselves and then add a few sentences about themselves.
The final step was to create a script for the first page describing the snowman. The children had to complete a few sentences describing their snowman and their favorite parts of the project!
Then we had to have the children record their script on the first page of their book as well as adding a comment or reading their work on each of the pages of their book. Then we saved the book to the camera roll as a video within the Explain Everything app. Love, love, love this app!
Then I was able to upload the video on the camera roll to Youtube and import it into the blog so that you can see it. I think I will also create a QR code for the video when we have completed them. You know you have a group of students who love technology when they ask you to turn everything into a QR code!
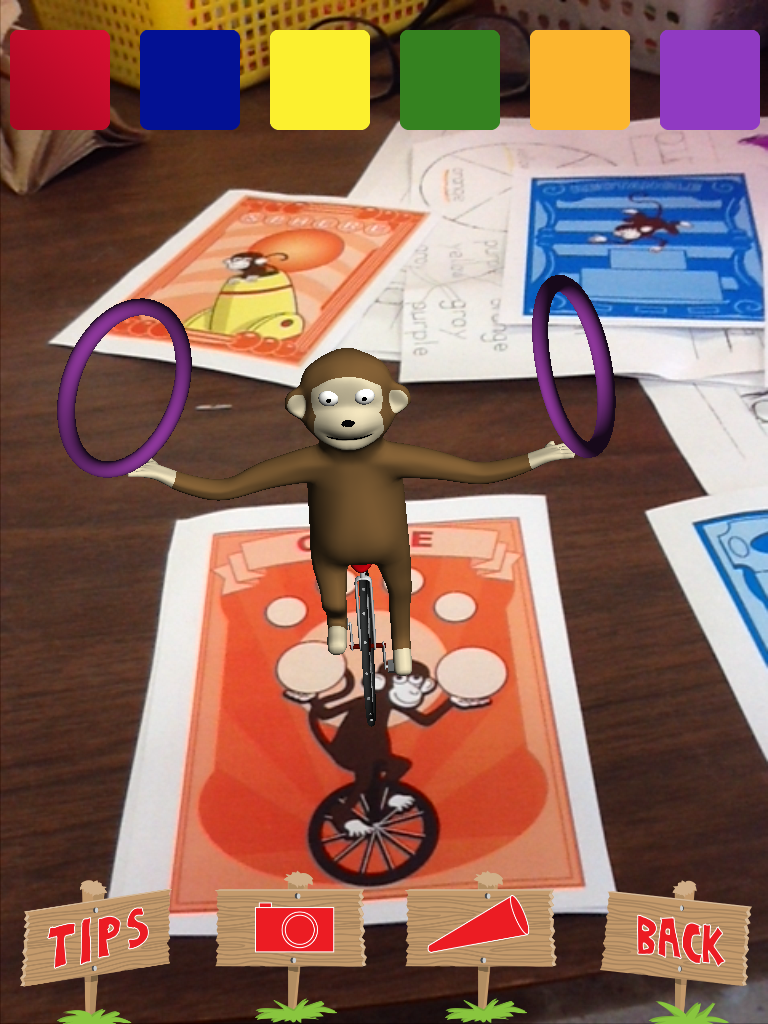
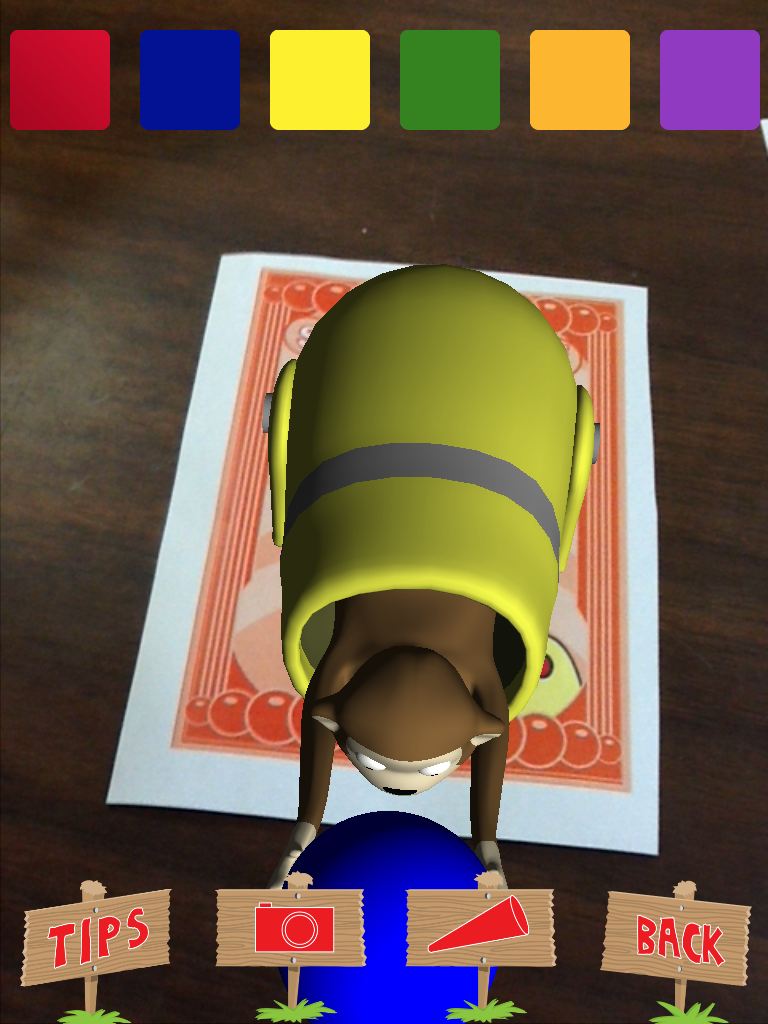
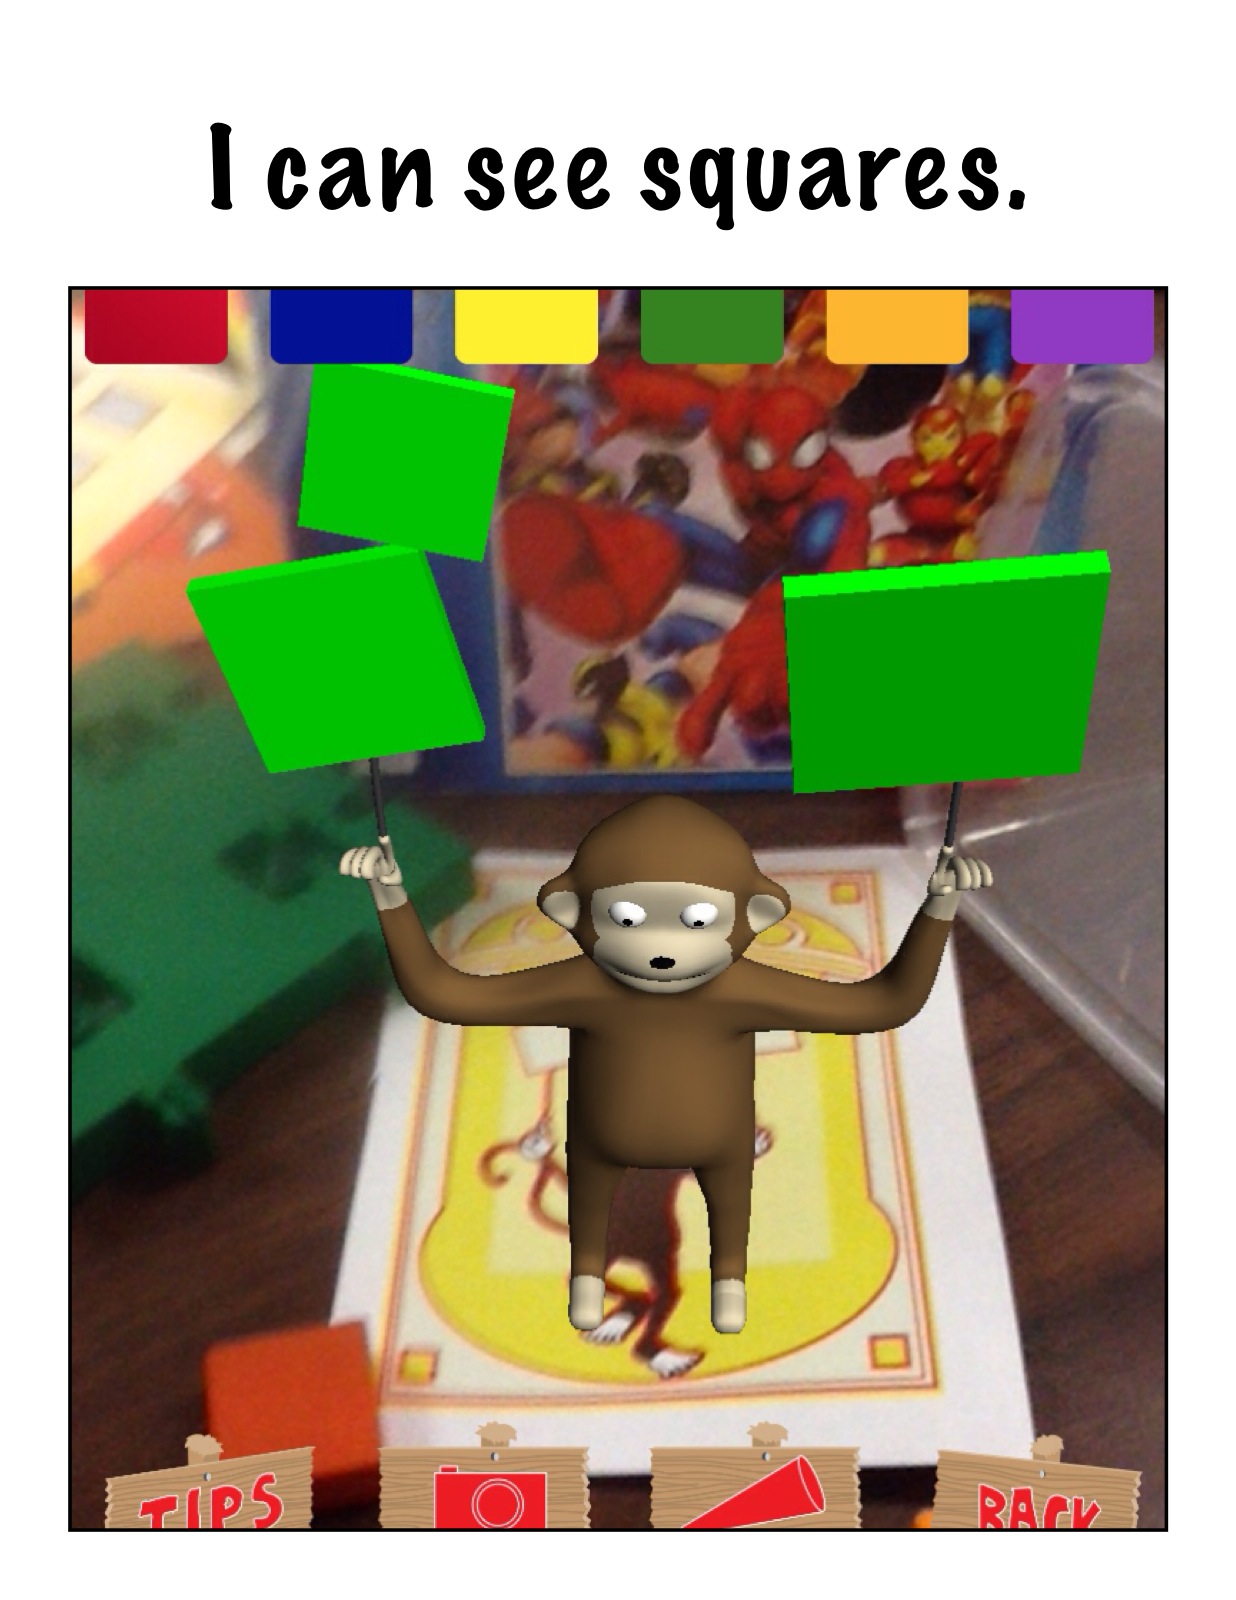
We have been working with some Augmented Reality apps in the classroom over the last few weeks. The newest one is AR Flashcards Shapes and Colors.
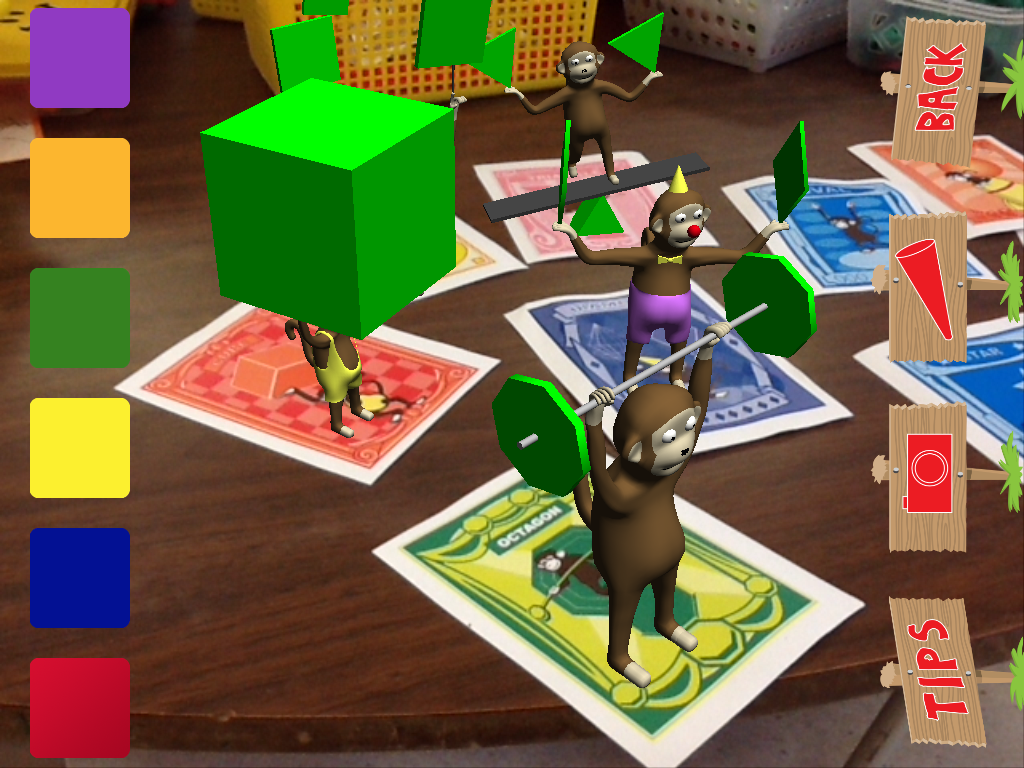
This is a really neat app that introduces colors and shapes in a fun way. The children hold the iPad over the trigger images and these lovely augmented images appear. You can change the color of the shape by tapping the color icons at the top of the screen. Lots of fun practice learning about colors and shapes.
There is a story in one of our beginning readers that talks about shapes. We decided to make our own book using these augmented images as a starting point!
The students searched our classroom for the different shapes and then we arranged our collections around the trigger image picture. Then we took a picture of the shapes within the app with the trigger image engaged. Next, we opened up the Strip Designer app, imported the picture and added a sentence about the shape to the page.
Then we opened up the Explain Everything app and imported our pages to make a book. The students volunteered to narrate the pages. We saved our book to the camera roll and uploaded our book to YouTube. This is the result!
This was a fun project! They had a great time searching for the shapes we needed and arranging them around the trigger image! Great practice and fun, too!
We took all the pages we had created about Space using the Strip Designer app and put them together to create a book using the Explain Everything app!
Then the students recorded the captions on each page and we saved the project to the camera roll. I uploaded the video to Youtube so we can share it with everyone.
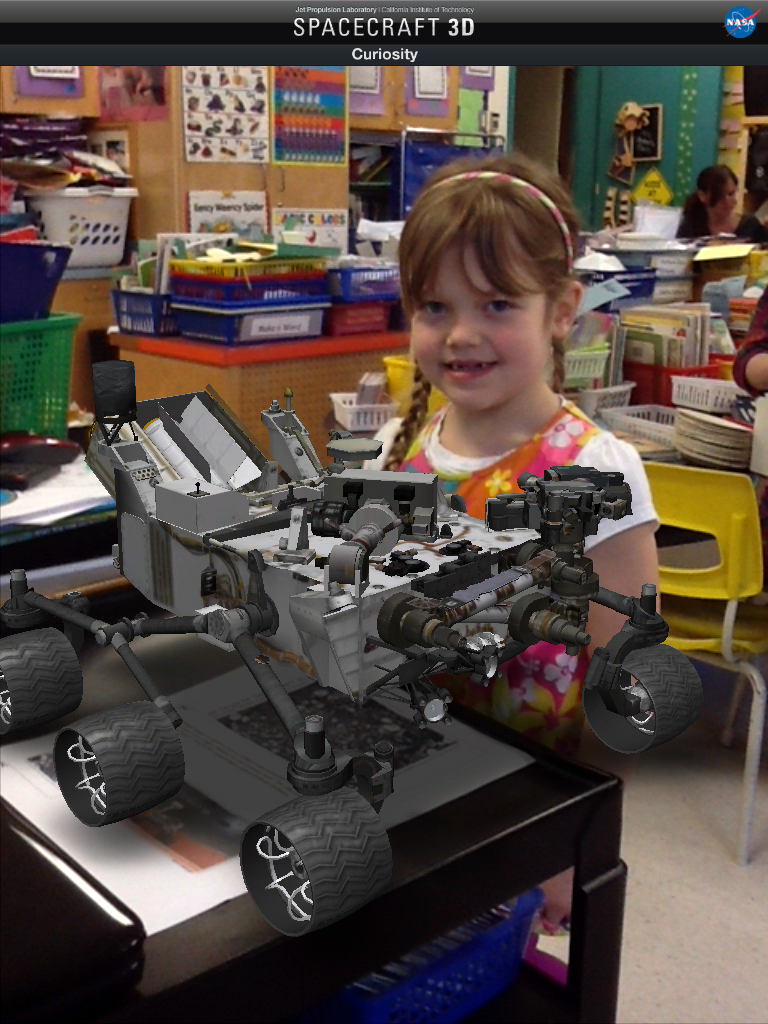
We wrote stories about a space trip using the pictures we created using the Spacecraft 3D app. Each child choose the spacecraft that they wanted to have their picture taken with and then posed with their choice.
I took their picture within the app with the trigger activated and we used this picture as the spark to trigger some creative writing!
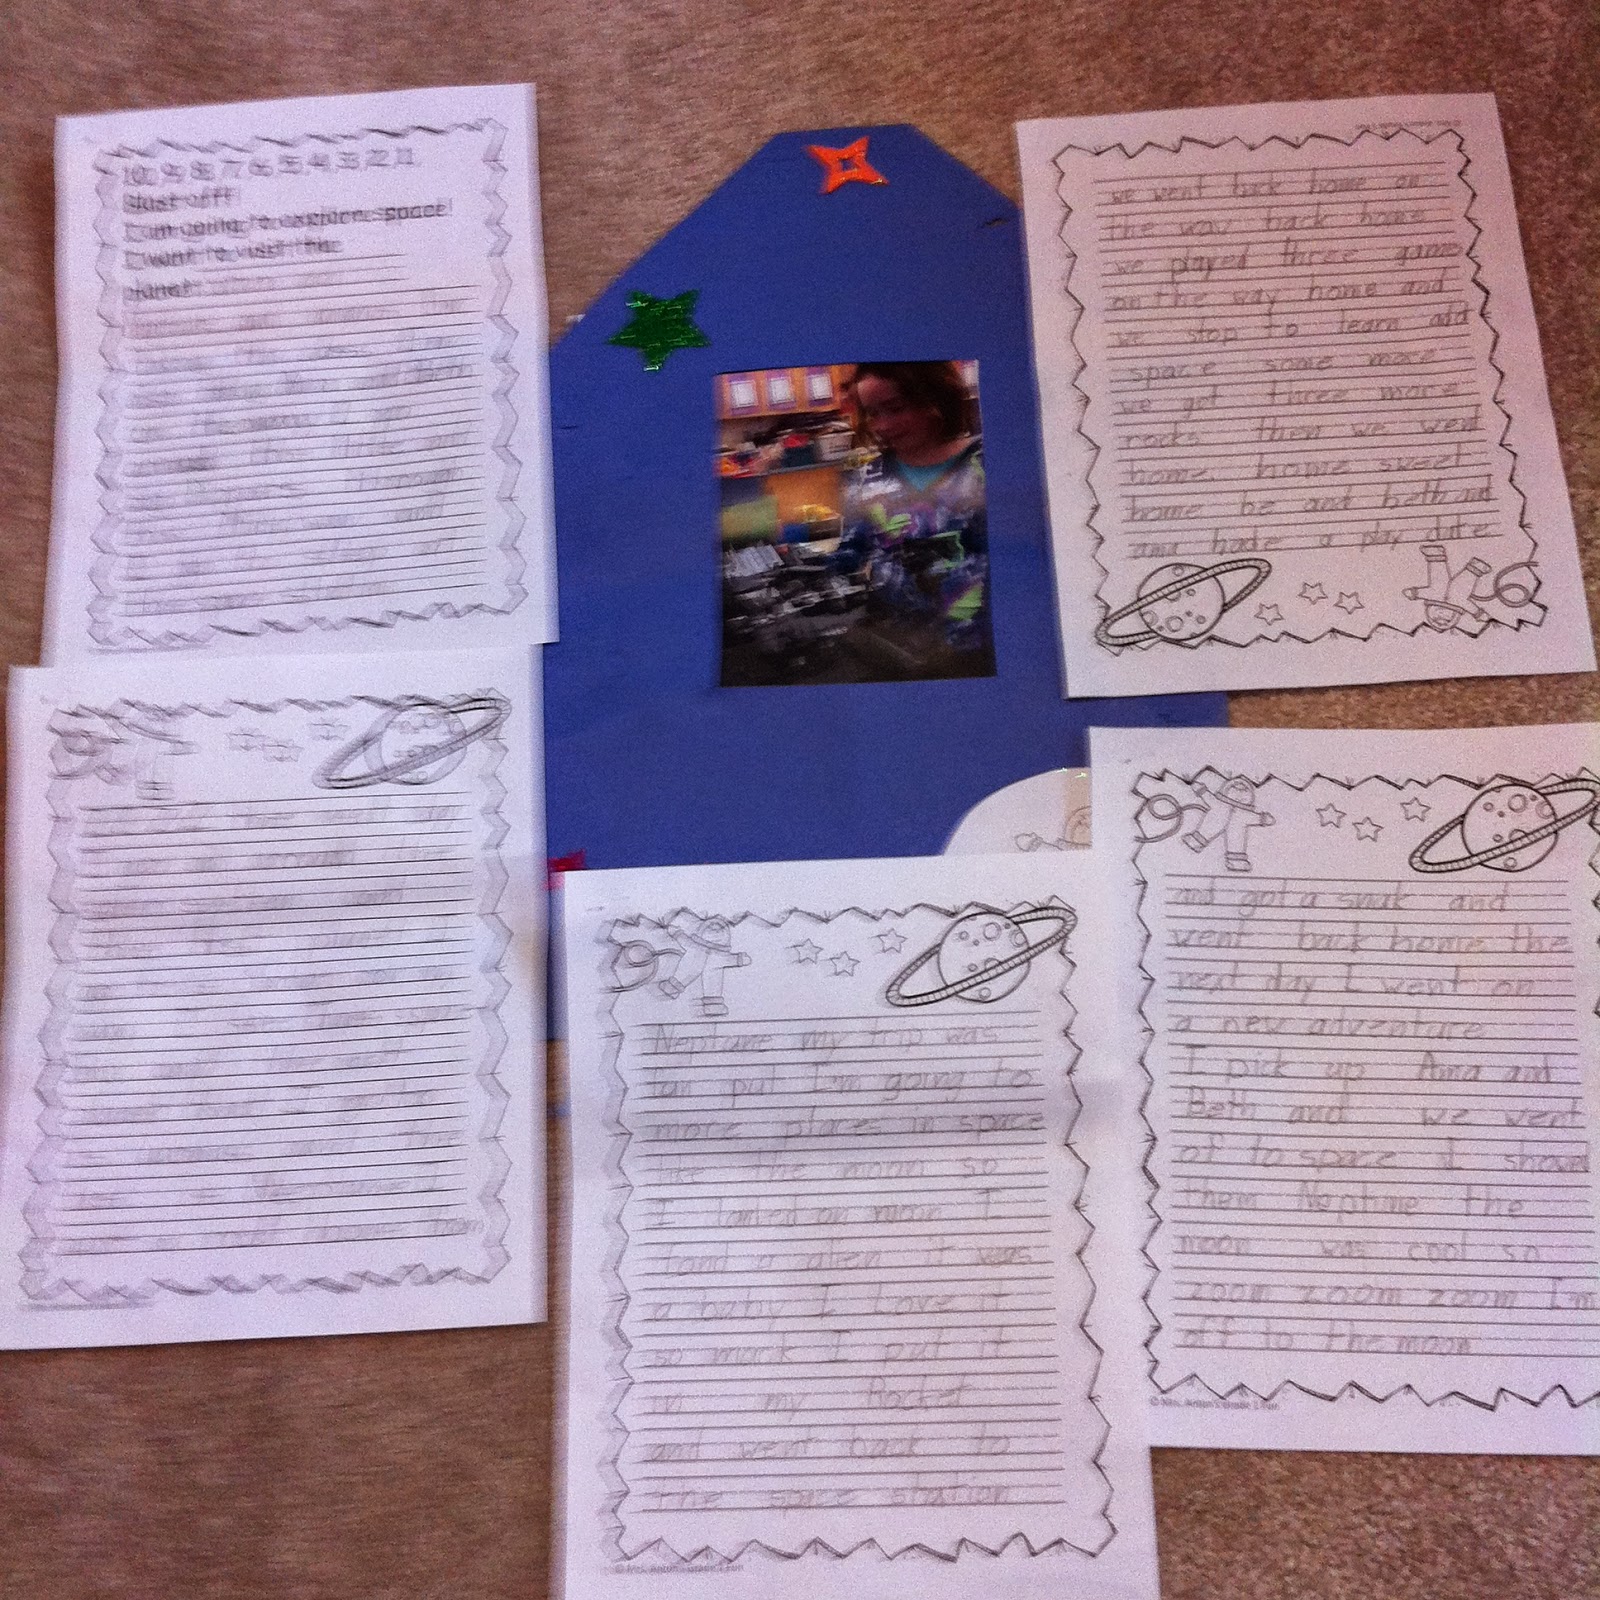
I also attached the space video using Aurasma to the creative writing project!
They wrote and they wrote and they wrote!
The trigger for the movie is on the cover of their project. I will send home the aura I created in Aurasma via email.
They love viewing their work augmented reality style!
I have created a new page on the blog to showcase our Snowman project! At the top of this blog you should find a new page called Snowman iPad Project Movies! This is where I hope to post all the movies we have created of our wonderful snowmen. I will try to get them all posted soon! Enjoy!
The snowmen project is one of my favorite projects. Thank you for making such wonderful snowmen as a starting point for our project!
This year we have turned our iPad project into movies of each book which we have uploaded to our Youtube channel. We hope you enjoy them!
The children used a variety of apps to create their project based on the wonderful snowmen they created with their families at home! We used a combination of Doodle Buddy, using the camera on the iPad, and Explain Everything to create our projects!